Categories
3D models summer work Level 5

Industry 1: Summer work- Fixing the printing errors

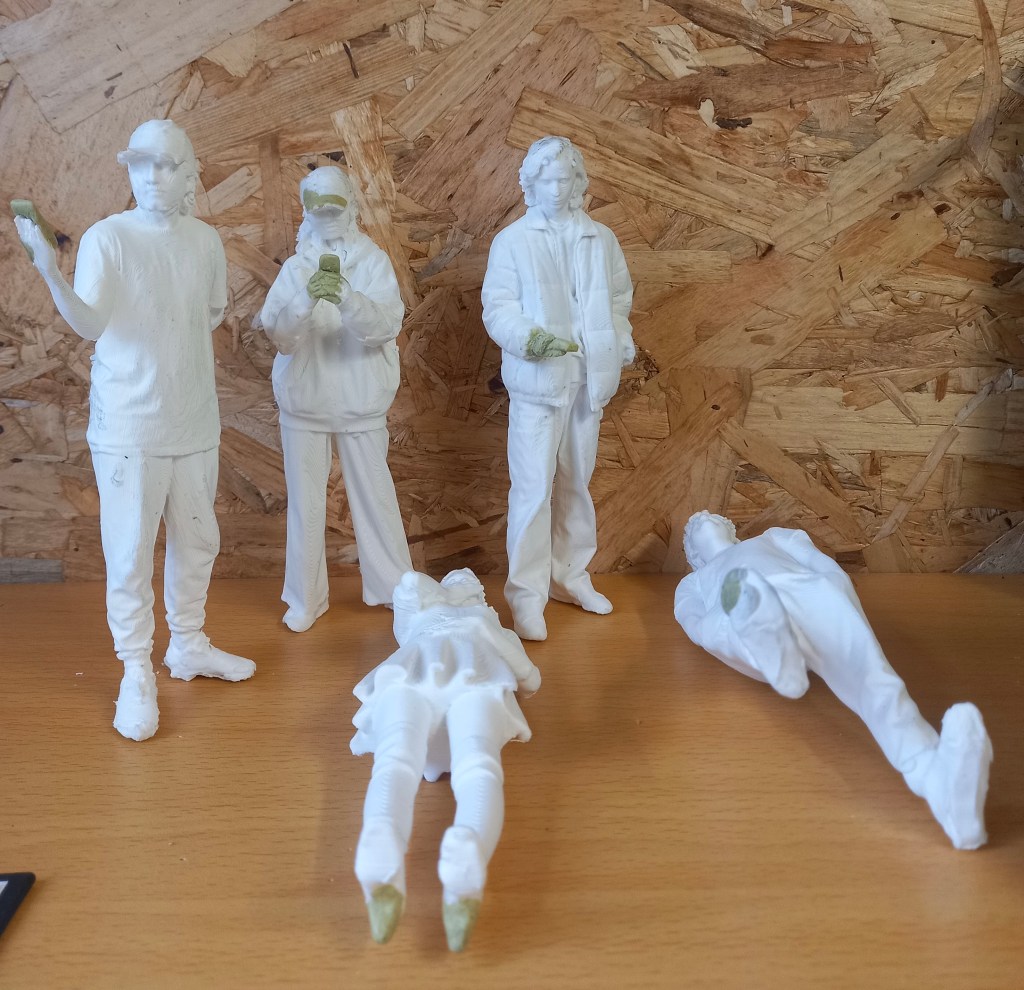
The first thing I did when I got the models was break off any big bits of plastic sticking out of the model using tweezers and scissors. Then I found the models that had printing error so I could fix them with the miliput. I had to mix the 2 parts in equal quantities for around 5 minutes. It softened up to become malleable and hardened again after a couple hours and was completely solid by the next day. There were 5 models that needed repairs in total this process took me around 3 hours. The first one I did was adding the heels onto this models shoes.

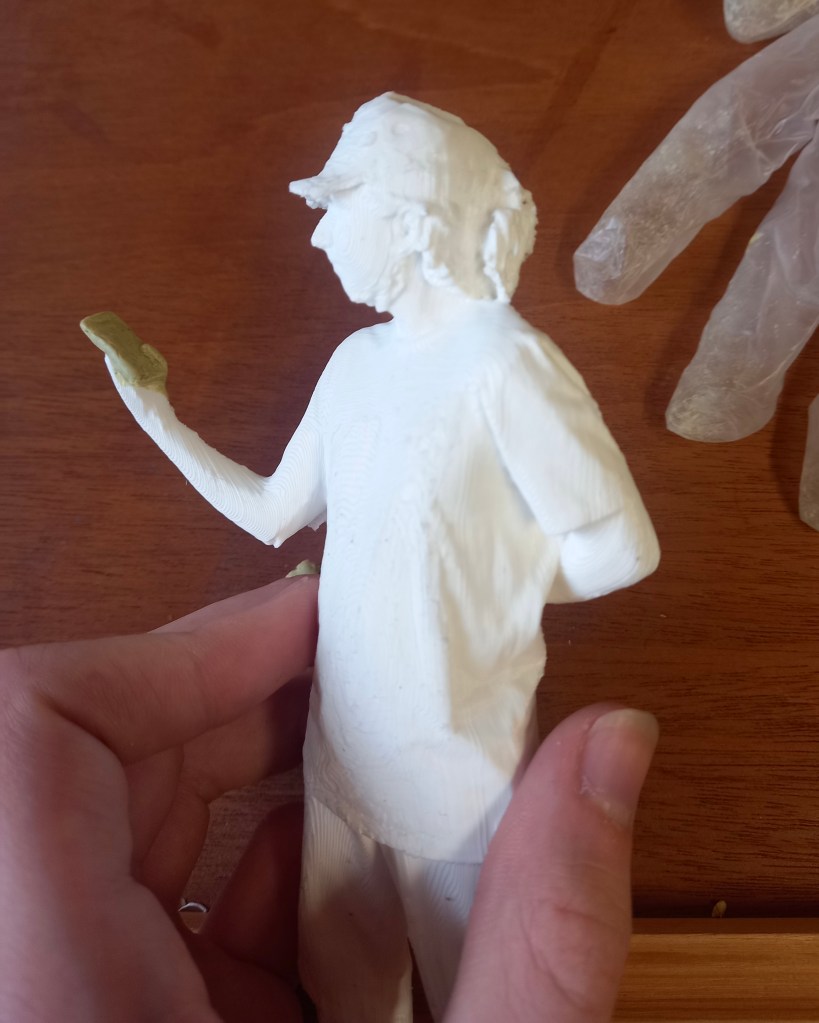
This one was more difficult as I needed to add in his phone and part of his hand. Most of the hand had been printed so I had a good base to work from.

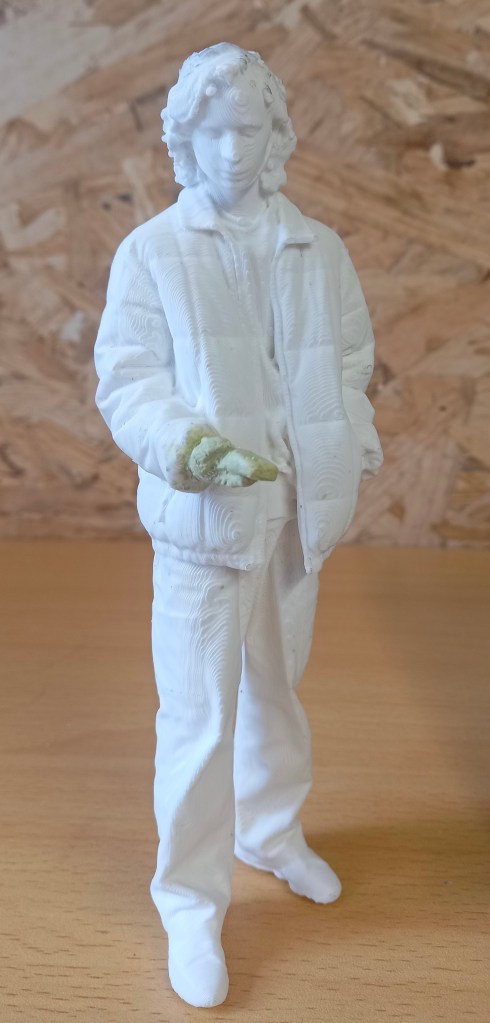
This one needed some holes in the cap filled in and her hands and phone. This was more tricky but I’m happy with the definition I got in the fingers

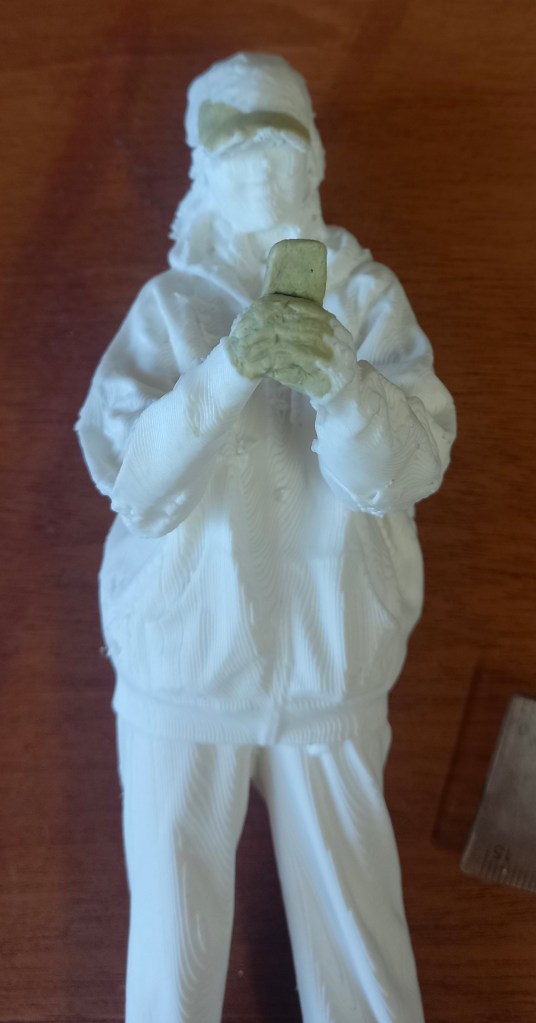
On the model on myself it needed a couple bits in the back filled in and the hand and phone. This was the most difficult as there was almost no hand printed so i had to construct it all.

Modelling is not something I’m very confident with but it was fun repairing these prints. I’m happy with the repairs I made but in future I’d look to improve the quality of the 3D printing to avoid so many errors. The next step will be to sand down the surfaces ready for the primer.

Categories
3D models summer work Level 5

Industry 1: Summer work

Today I received the package which has 14 models in, 2 sets of paints, a set of brushes with varying thicknesses and the moulding clay. I did some research to find out the best process for painting 3D printed models. I created a step by step plan of what to do. First use tweezers and little scissors to pick of the big bits of extra filament. Then use the moulding clay to add in certain bits that didn’t print such as hands, phones and caps. Then sand down the models to create a smoother finish. For this I will use different grains of sandpaper, a tooth brush, craft knife and tweezers. Then I’ll need to spray them with a primer, this will make the paint stick better. I’ll buy this from hobby craft for £11.50. Next is the actual painting, this will require some trail and error to see how many layers of paint it takes. A tip I learnt was to desaturate the colours with some grey to make the models appear larger and more realistic. Finally I’ll spray the models with a clear sealer to stop the paint running and give it a matte finish. I’ll also buy this in hobby craft for the same price. I aim to have these done by September so I can send them back ready to be put in the Great Hall model for display.

Categories
3D models summer work Level 5

Industry 1: Summer Work

During the summer I learnt how to use shining 3D to edit the scans and get them ready to be 3D printed.
The first step is to open Shining3D and go into IR Mode then open the scan file. Then you will see the scan and use a tool that works in essentially the same way as the lasso tool on Photoshop to remove any unwanted bits such as the floor. Then click the triangle mesh option, then press accept and confirm. This essentially fills in the scan to create and object with no holes. Save it as an OBJ and simplify it to about 80% so its file size is around 50MB. Then you save it. It will save 3 files but only 1 is needed to be 3D printed.
If you’re unsatisfied with the final edited scan you can further edit to using a 3D modelling software such as Autodesk Meshmixer.
Then the scan is ready to be sent to the 3D printer. When printed it will be a white model so it will lose the colour but maintain the detail.
I found editing the scans not too difficult but a fairly time consuming process especially when removing the unwanted floor from around the feet. In total I spent around 5 hours editing all the scans. I’ve got the images saved on my Google drive to use for colour referencing when it comes to painting. Here are images of some of the edited scans:

I’ve put in an order for the brushes, paint and moulding filler that I’ll need, which will arrive with the models once they’ve been 3D printed and sent to me.