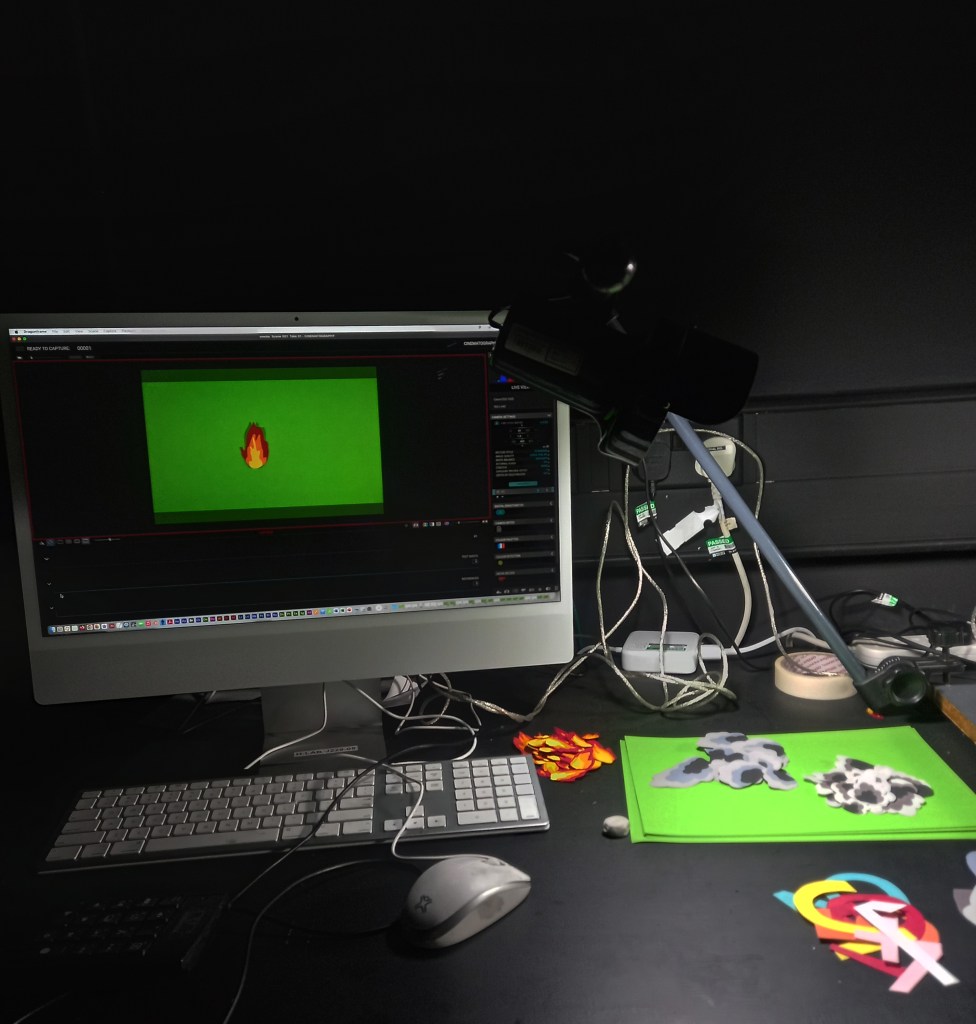
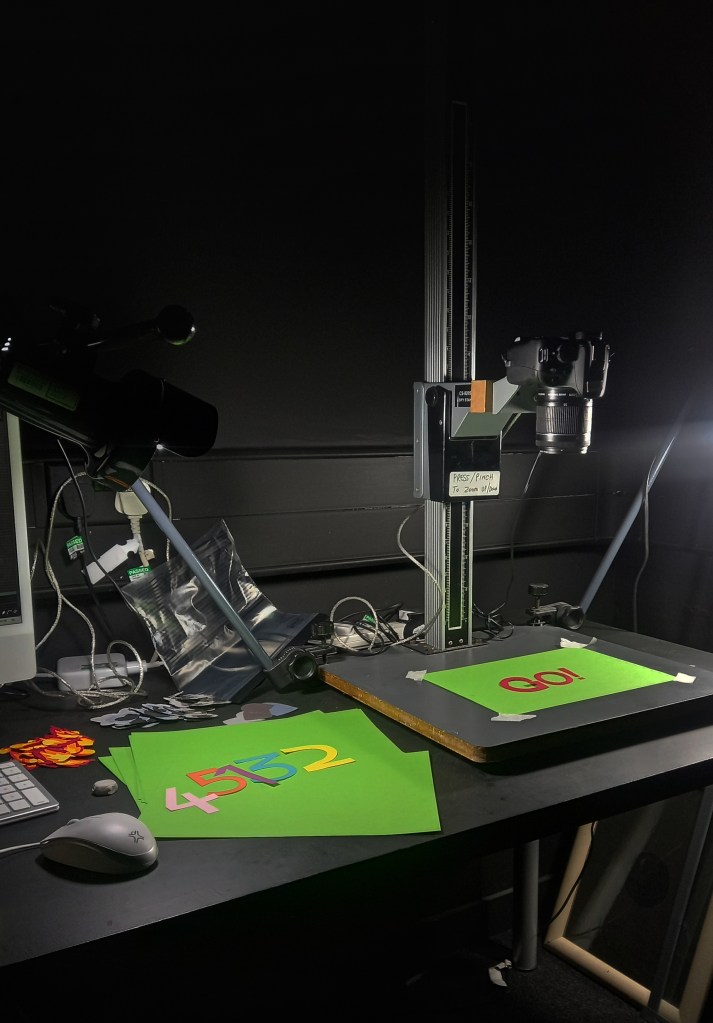
Studio session: to shoot the 2D paper cut out sequences I booked 1 day in the stop motion studio. I borrowed the same camera I used for the chess sequences, Canon 100D which I connected to DragonFrame using a USB cable. Instead of using a tripod I was able to attach the camera to a mount over the shooting area. In regard to lighting I only needed the 2 built in lights and just adjust the distances to get an even lighting.
Shooting these was a much easier process than shooting the chess sequences. I put down a green piece of paper to act as a green screen. Then I lined up the camera to the paper by looking at the live view on DragonFrame. I placed the asset in the middle and adjusted the focus to that area. I shot each frame using the onion skin opacity tool so the frames would be lined up, saving me time in post production.

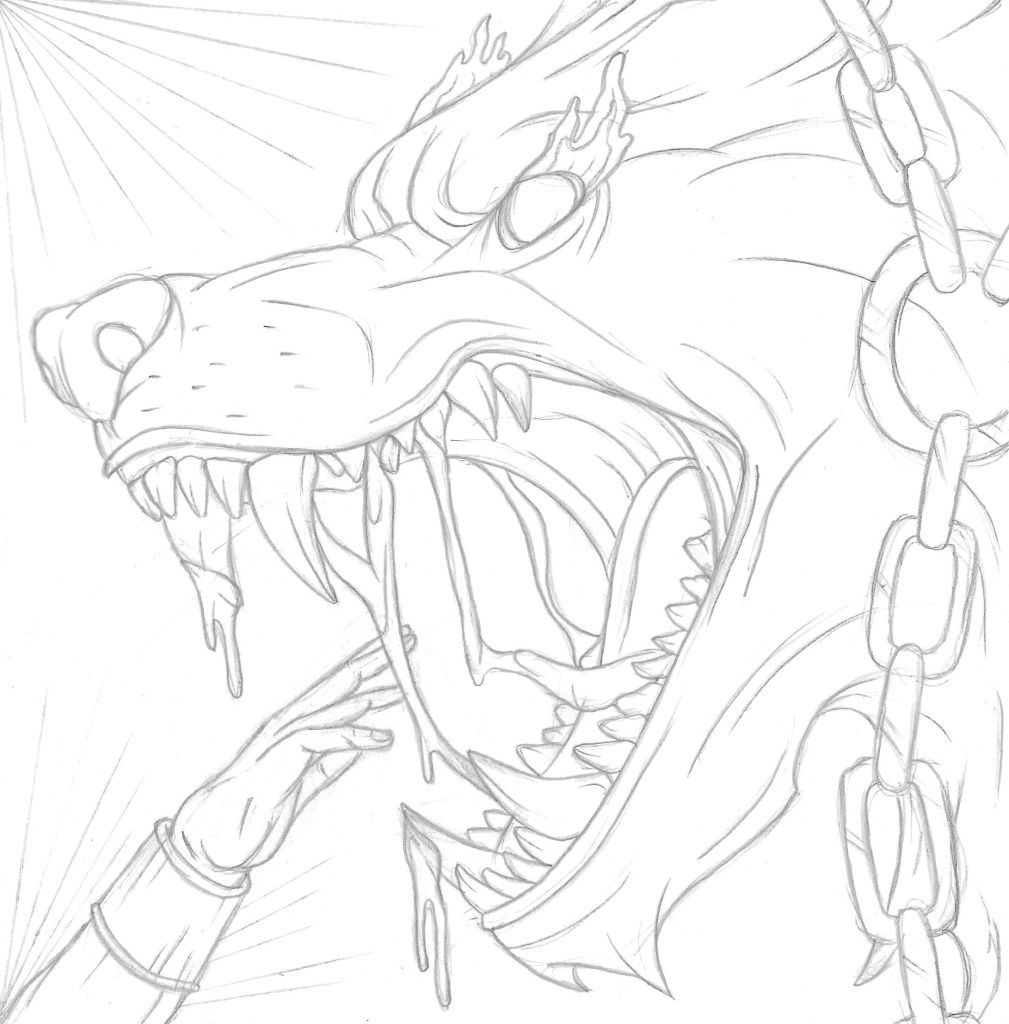
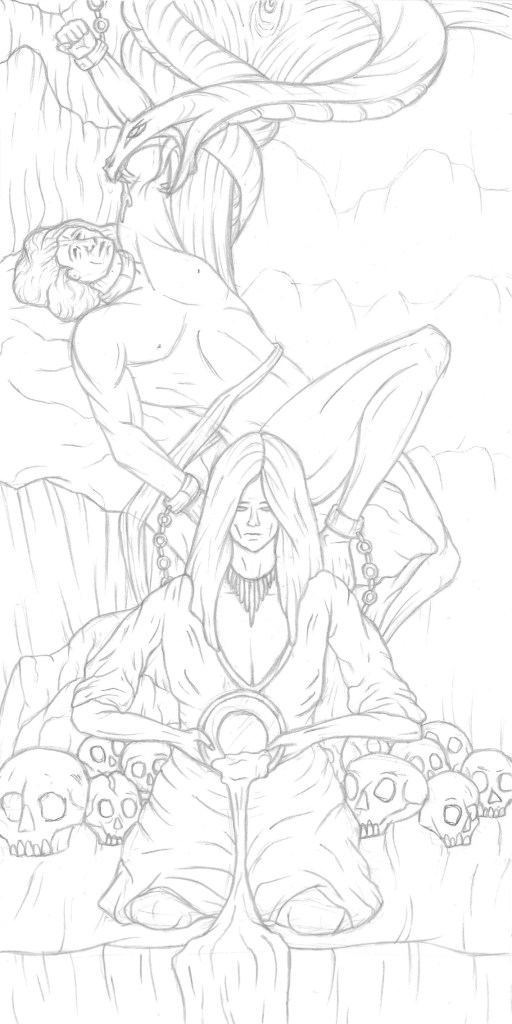
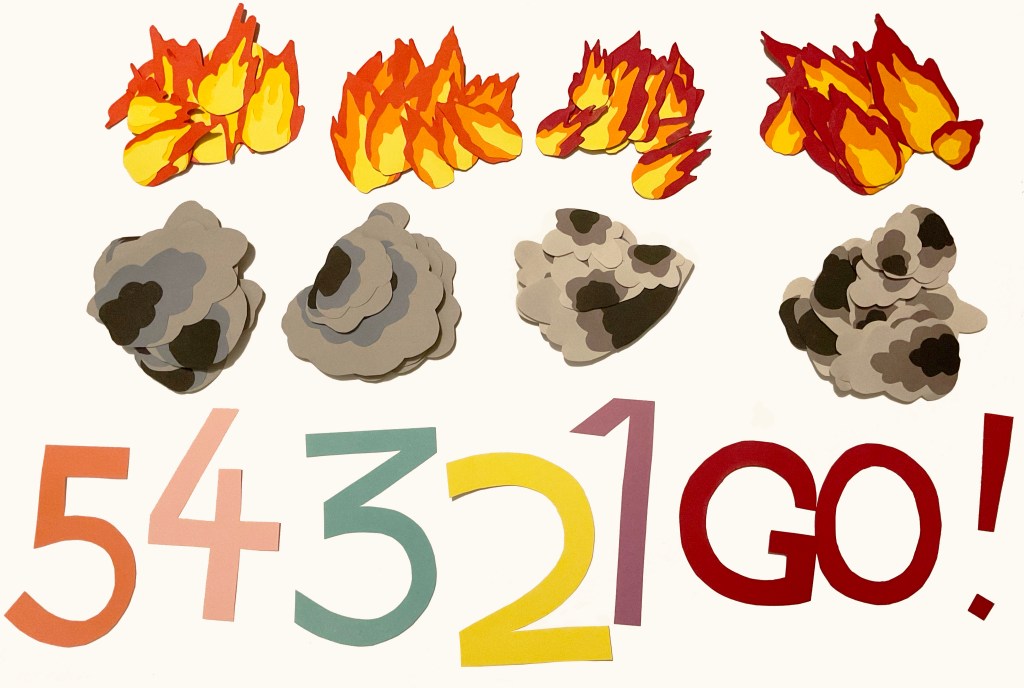
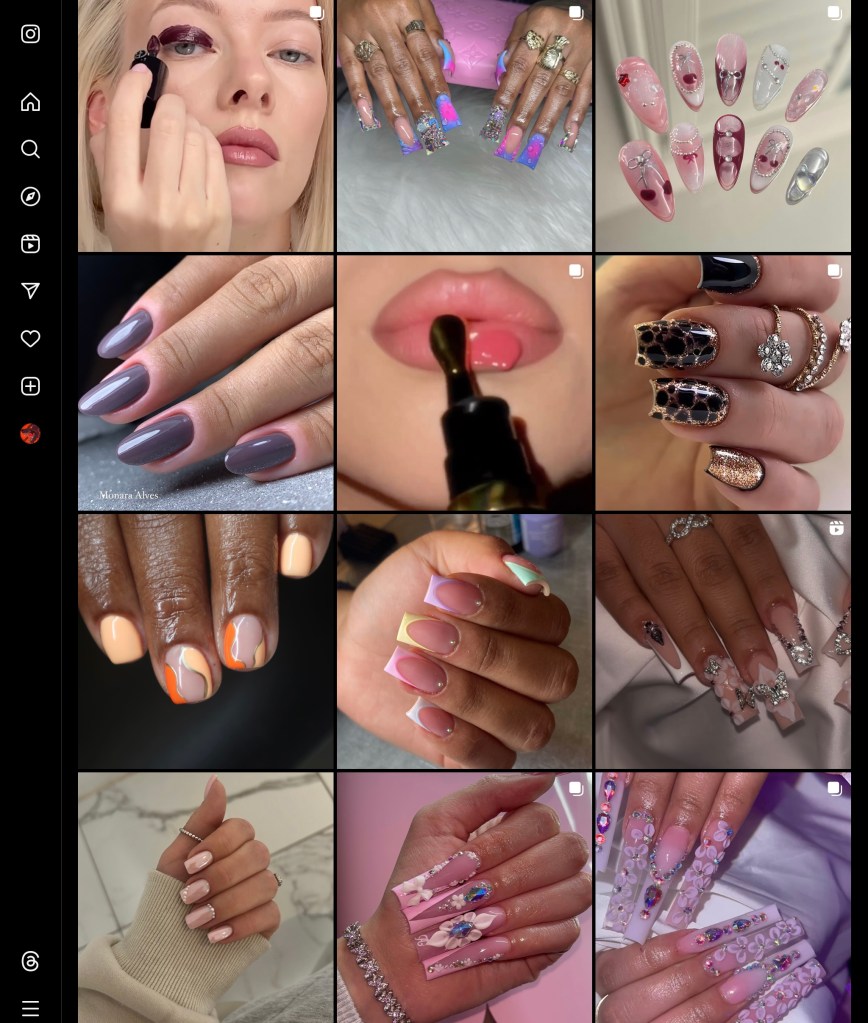
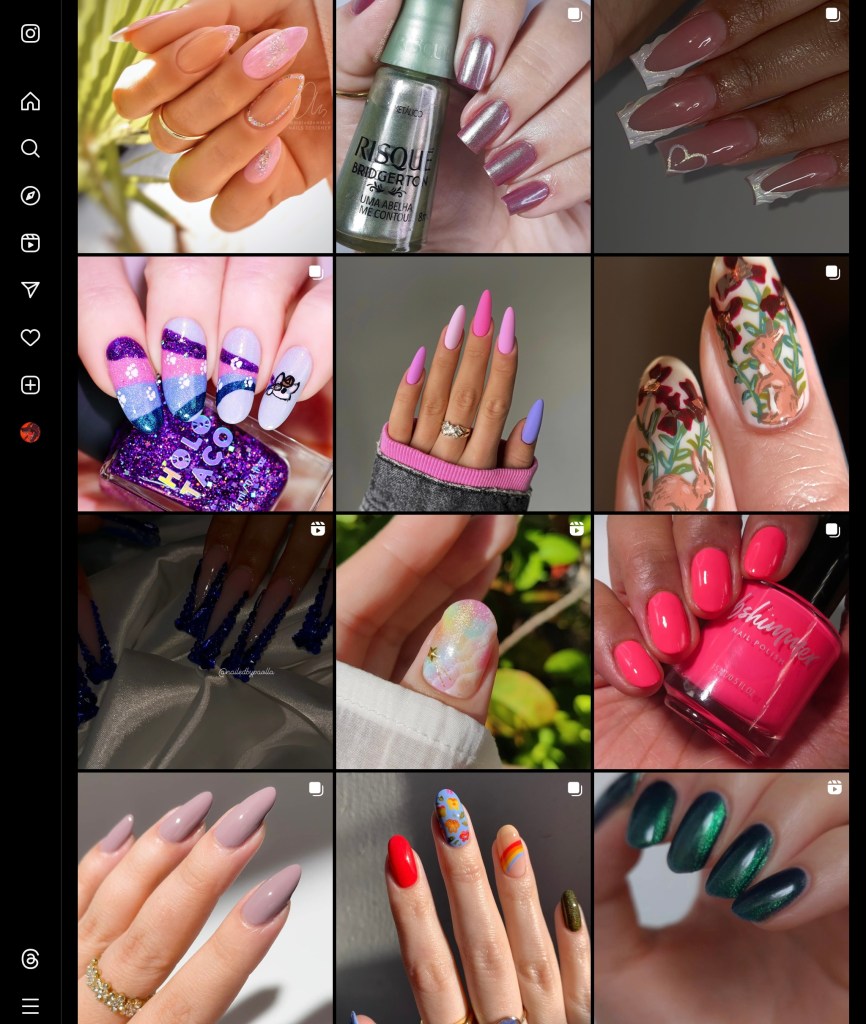
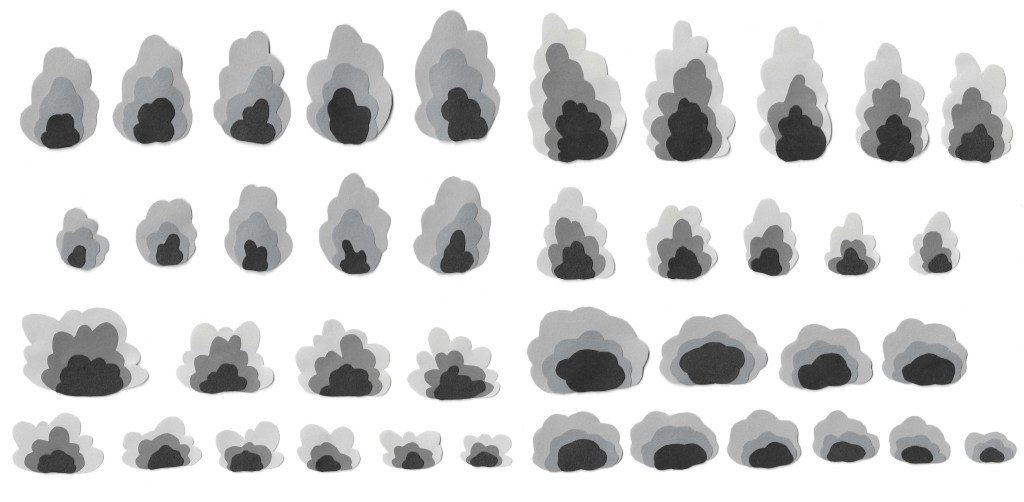
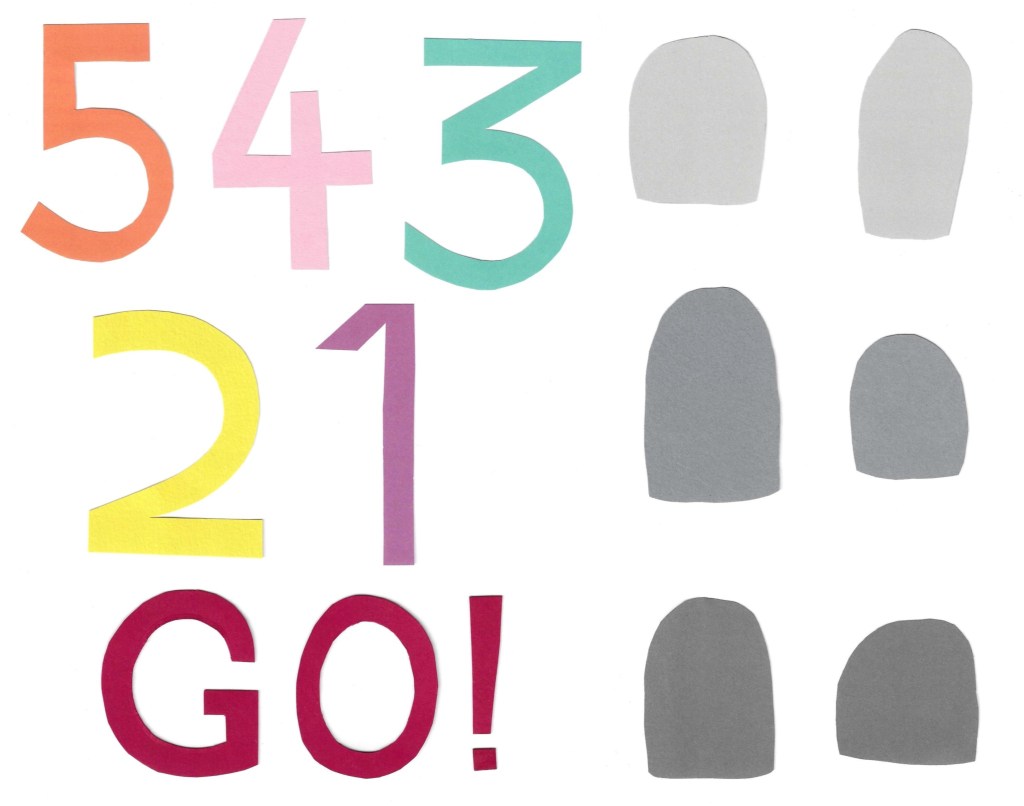
Assets: this video shows all the sequences I shot in the studio of my 2D paper cut out assets.
Editing:
I removed the green backgrounds of each frame using Photoshop and did some basic colour correction to each to get a nice consistent look between each frame in the sequence and make them more vibrant.
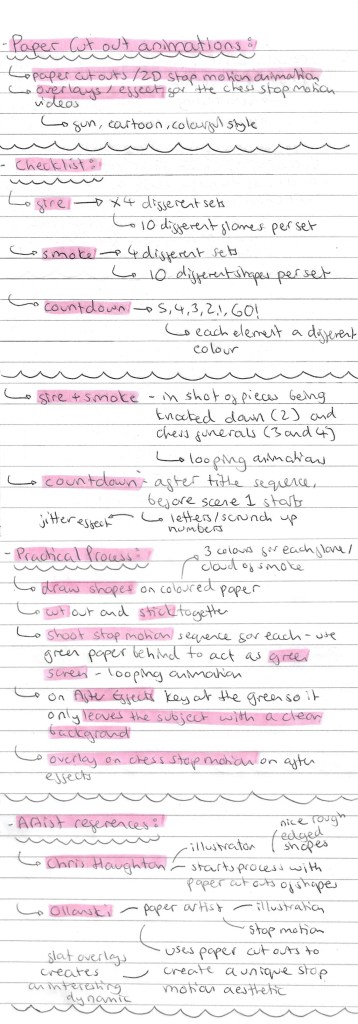
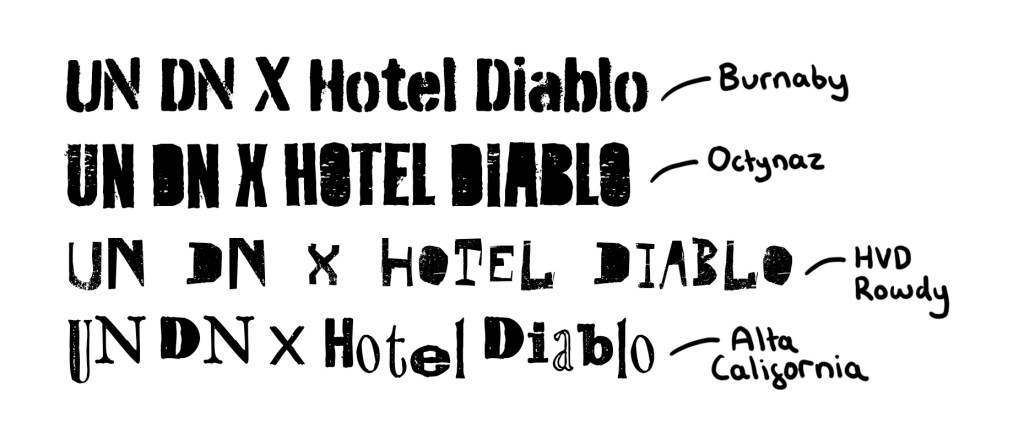
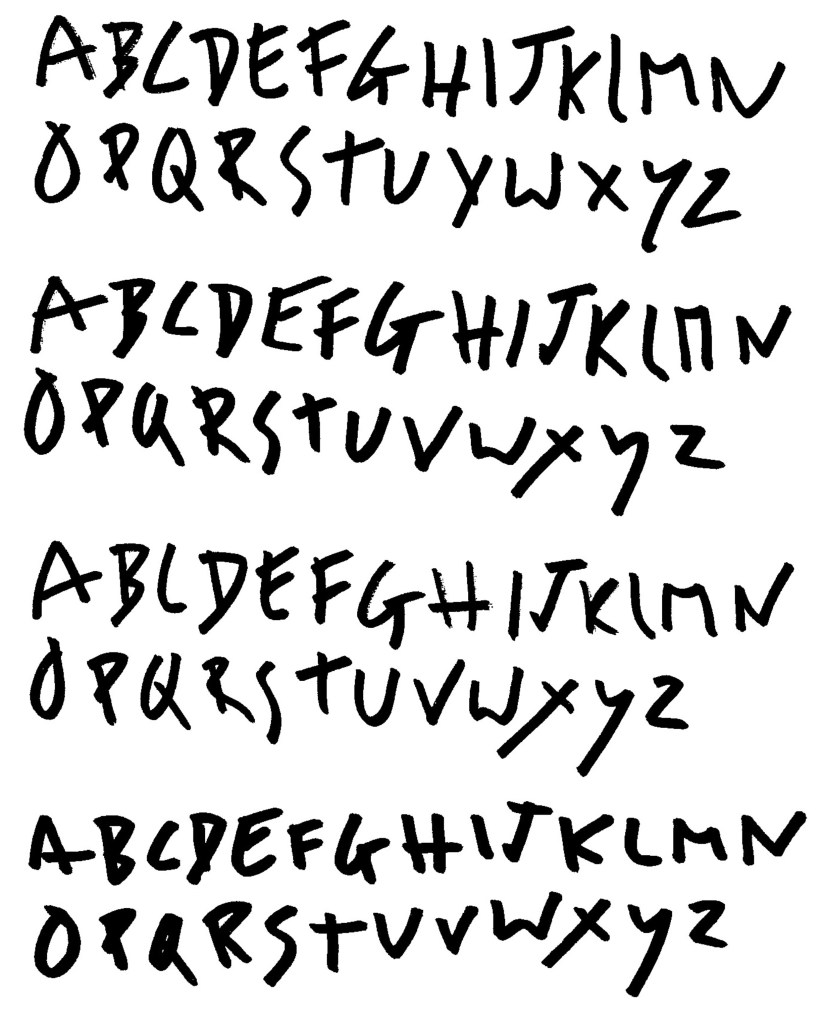
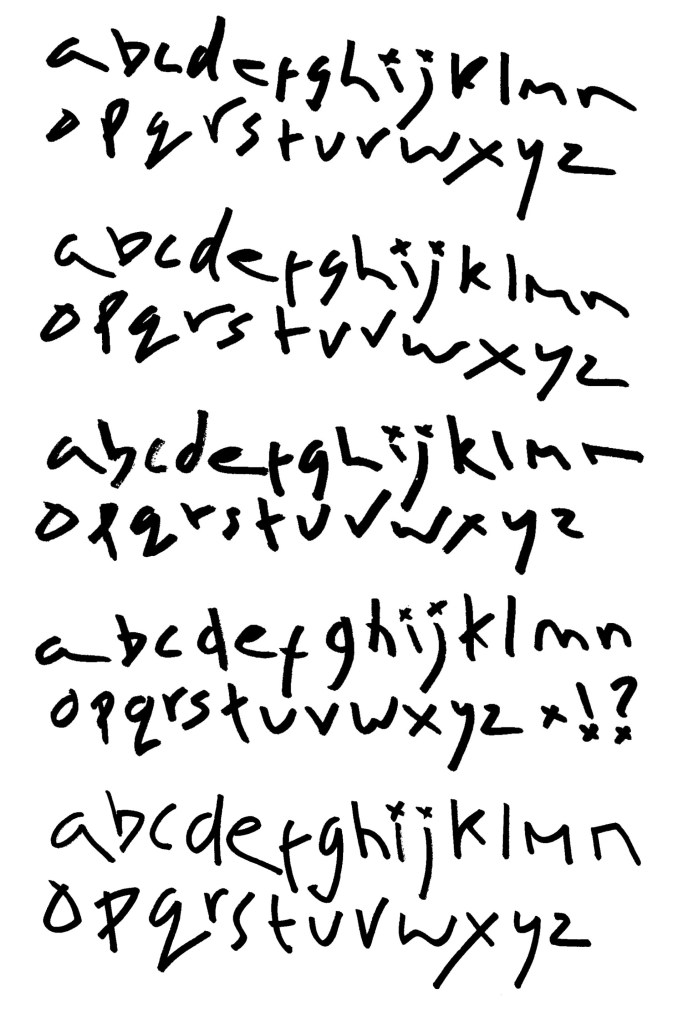
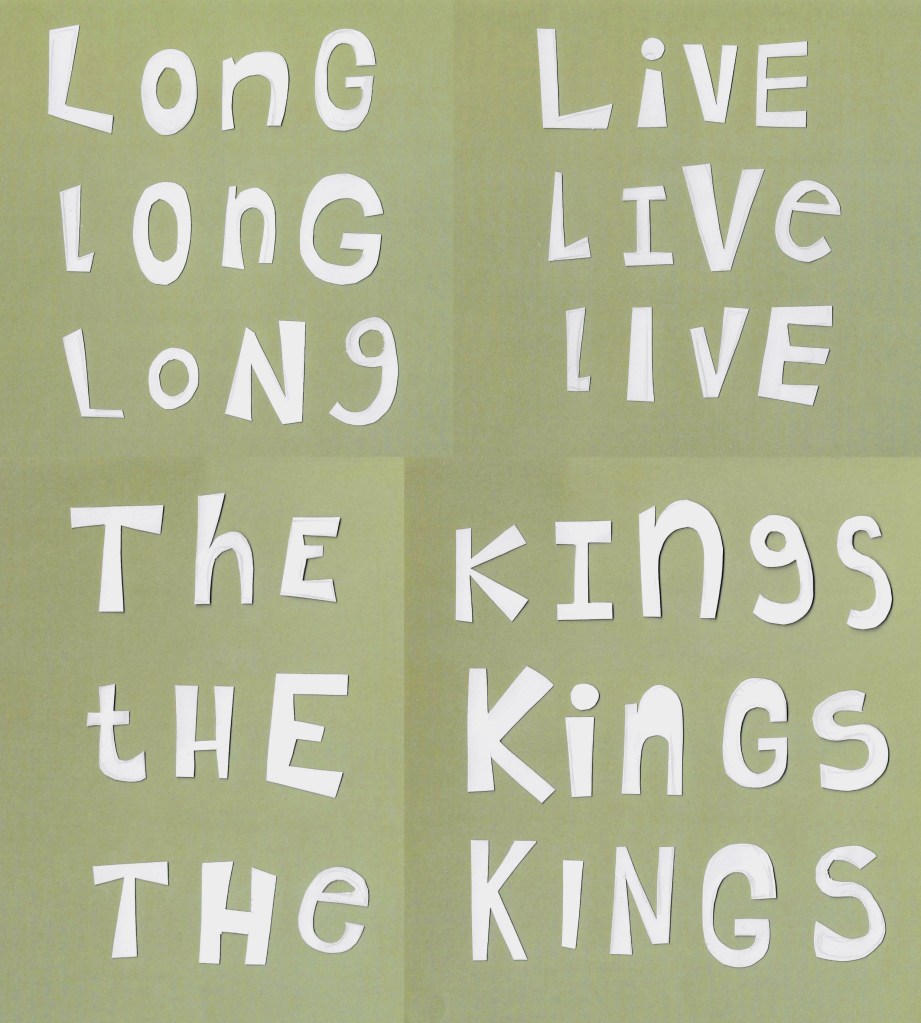
Title: I chose the title ‘Long Live the Kings’ as it has an obvious link to chess that people will understand before seeing the video. Also I think it summarises the plot while also mocking the dramatic nature of the video because of the intensity builds up just for the kings to run away in fear. After the studio session I decided I decided I wanted to create the title of the project in a paper cut out style, similar to the countdown. For each word of the title I made 3 versions in order to create a fun, messy animation style with each letter changing on a loop. I didn’t want to book out the studio and equipment for just this one thing so I decided to try creating this at home. To do this I used my scanner and a contrasting coloured background. Then I did the same process of removing the background from each frame on Photoshop and altering the colour.
Animated GIFs: once I had each frame removed from the background and edited to improve the colours I created looping animated GIFs of each sequence using the animation feature on Procreate. I chose to use Procreate because it’s a program I’m comfortable with and it has a simple animation feature that is ideal for creating looping GIFs.
2 count down animations: for these I added a border to imitate ripped paper. This helps make them stand out and make the shapes more dynamic and unique.


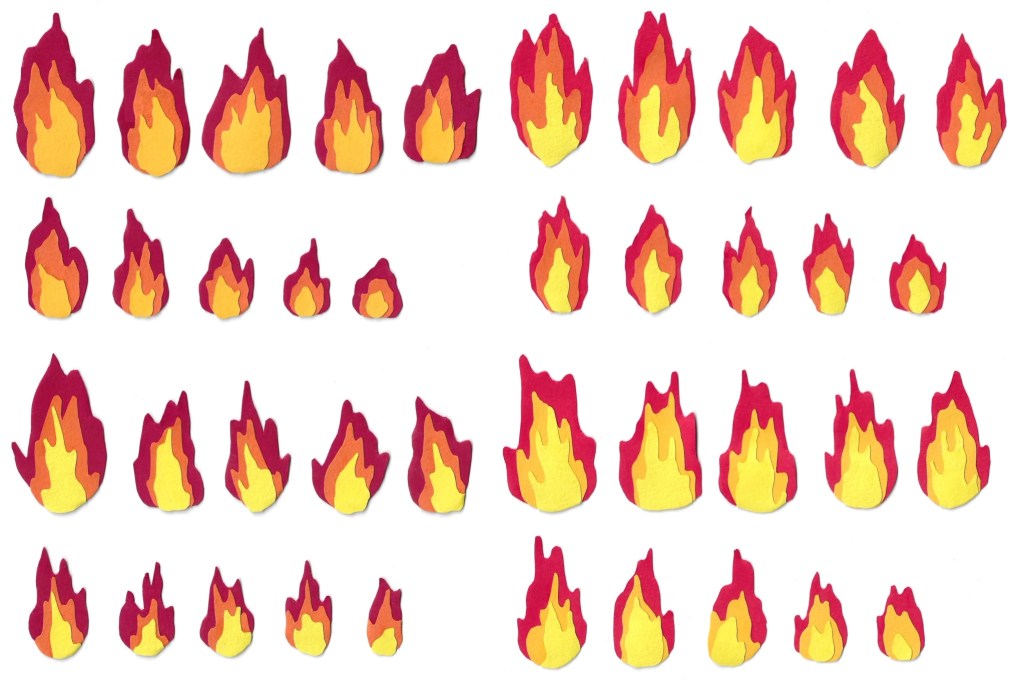
4 fire animations:

4 smoke animations:

2D Stop Motion sequences:
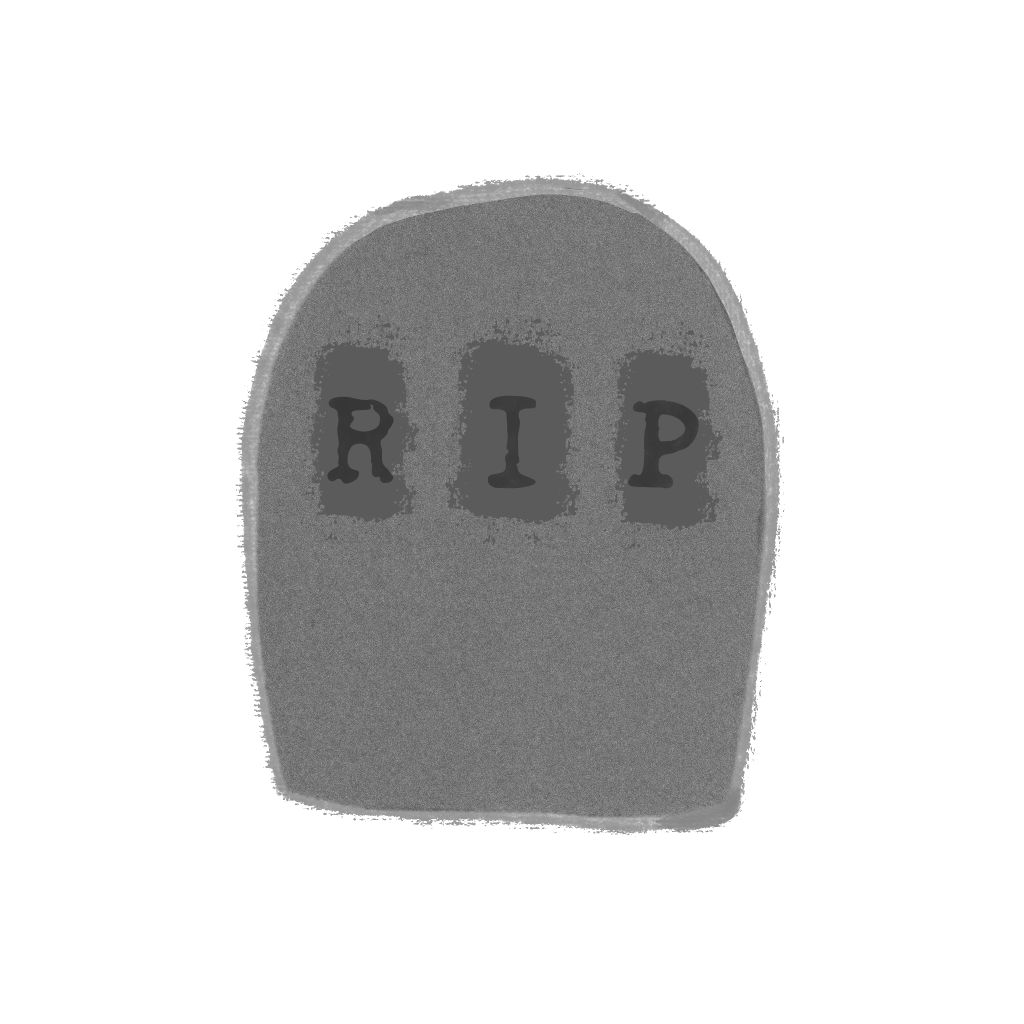
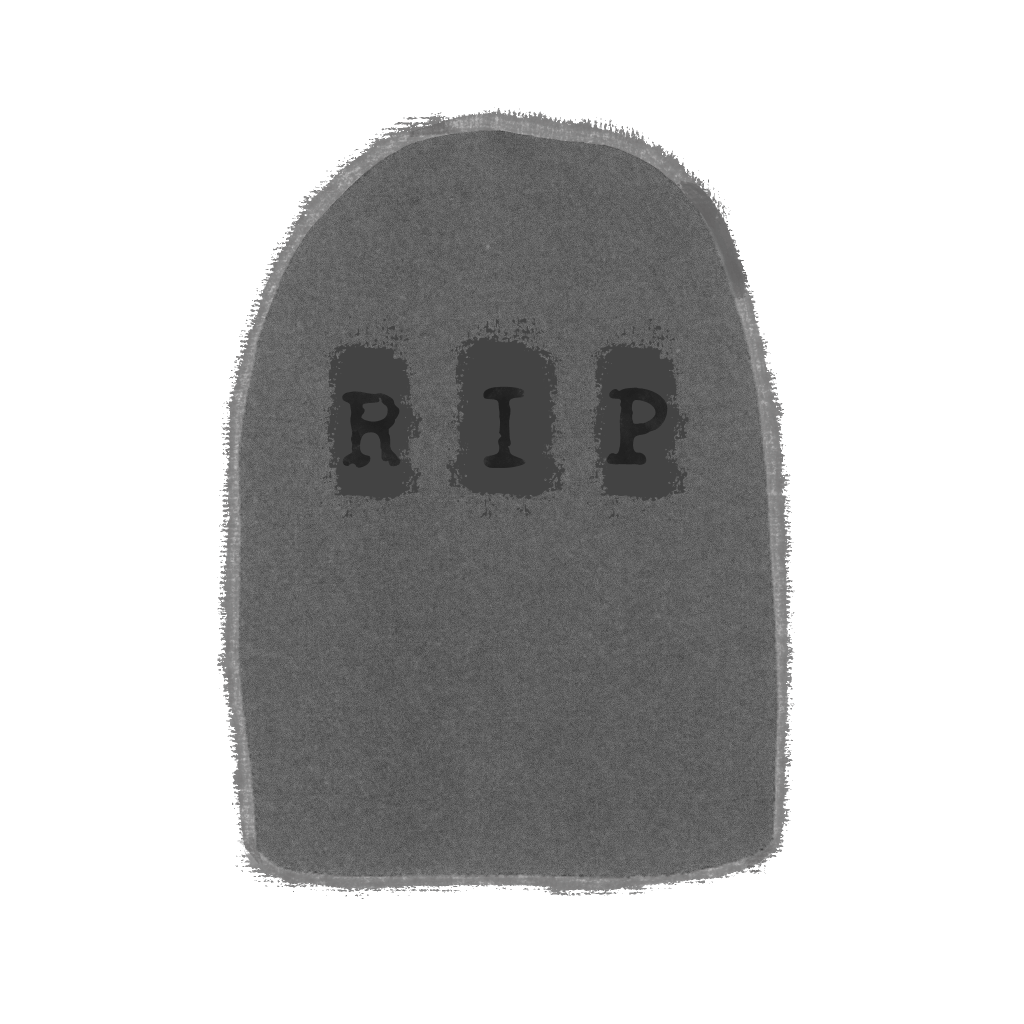
4 graves: I made these images of graves using the paper cut out. I added the textured border and letters on Procreate. I decided against using the grave rising animations as I think they would draw too much attention in the scenes and distract from the main parts,