Categories
Brands Level 5

Brands: Research

We where given a follow up task to research 2 brands we liked. I chose Puma and WWF as they’re both brands I’ve spent money on and feel a connection to. 1 is more product based whereas the other is more about what they stand for so I thought they would make an interesting pair to research. I found this very enjoyable as I was able to get a deeper understand about how these brands work and what makes them appeal to me. I’ve developed some ideas of what kind of brand aesthetics and tactics that I like.

Puma:

The evolution of the Puma logo.

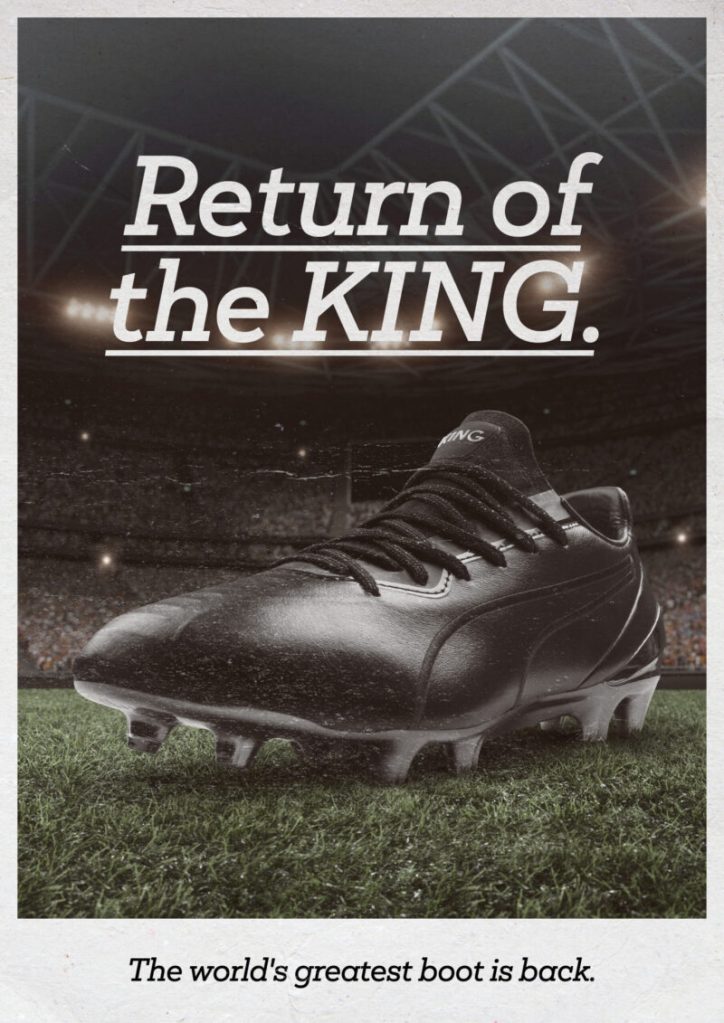
An old Puma advert for football boots. A line of boots that is still available today.

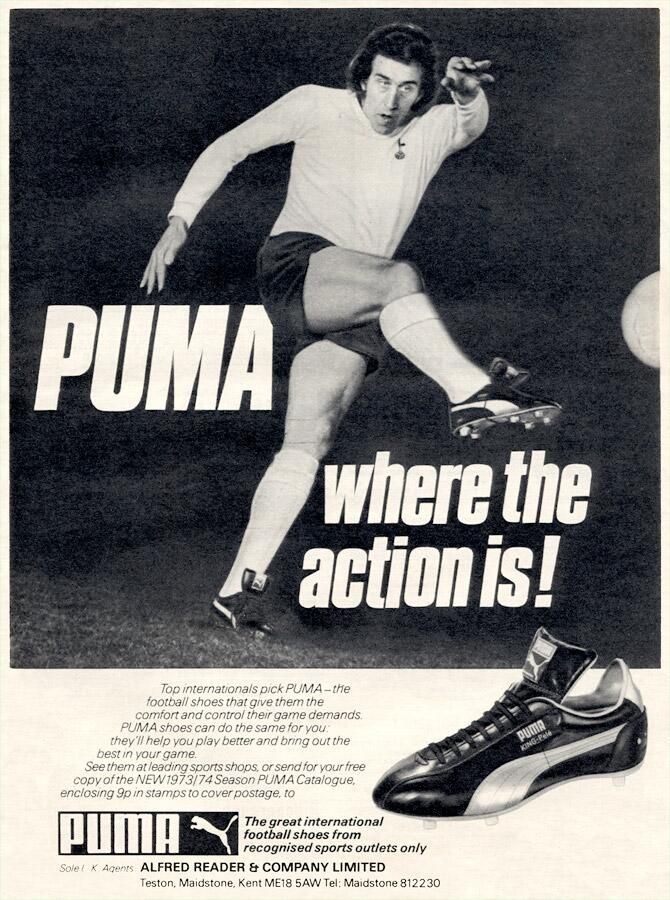
A newer advertisement of a newer version of the same boots. Shows how the brand has evolved but staying consistent to their core values and products. This leads to brand loyalty.

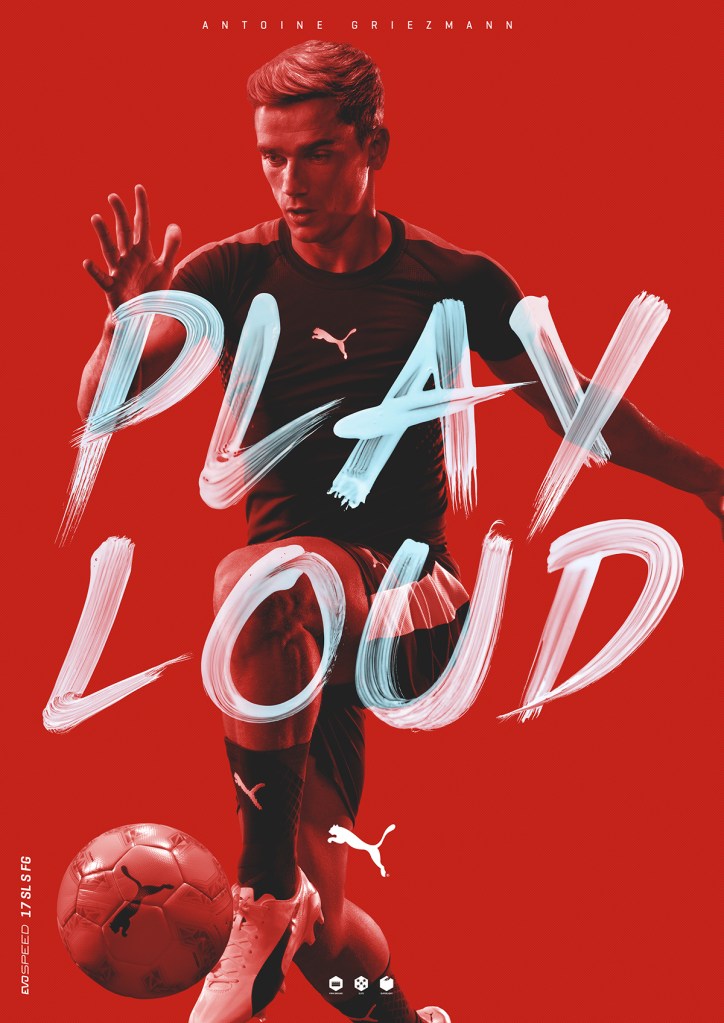
A strong use of colour is key to lots of Pumas modern marketing campaigns. Also using a famous footballer to encourage people to buy the product.

WWF:

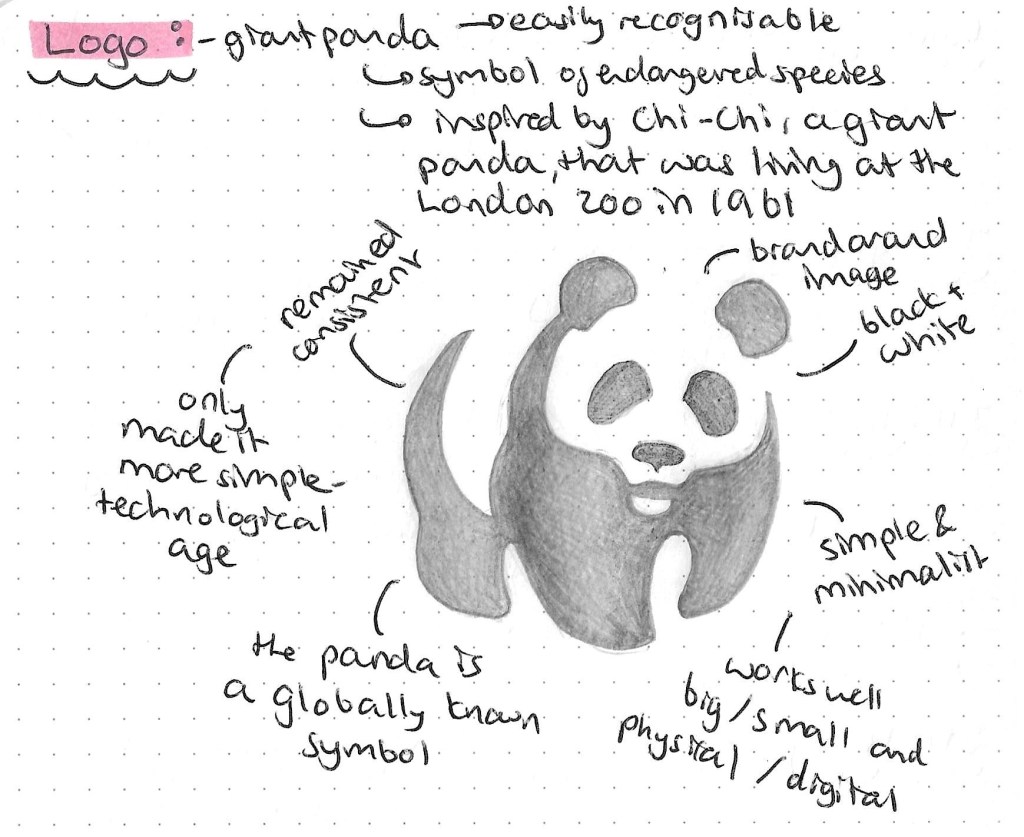
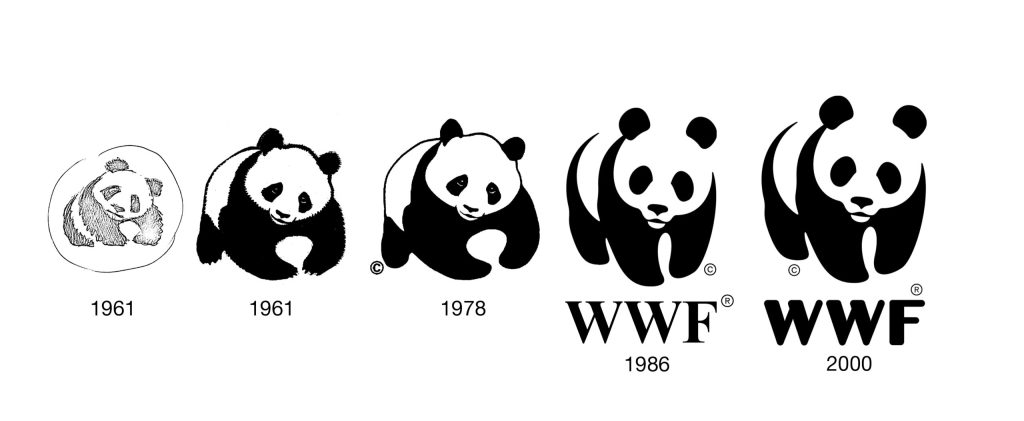
The changes to the WWF logo.

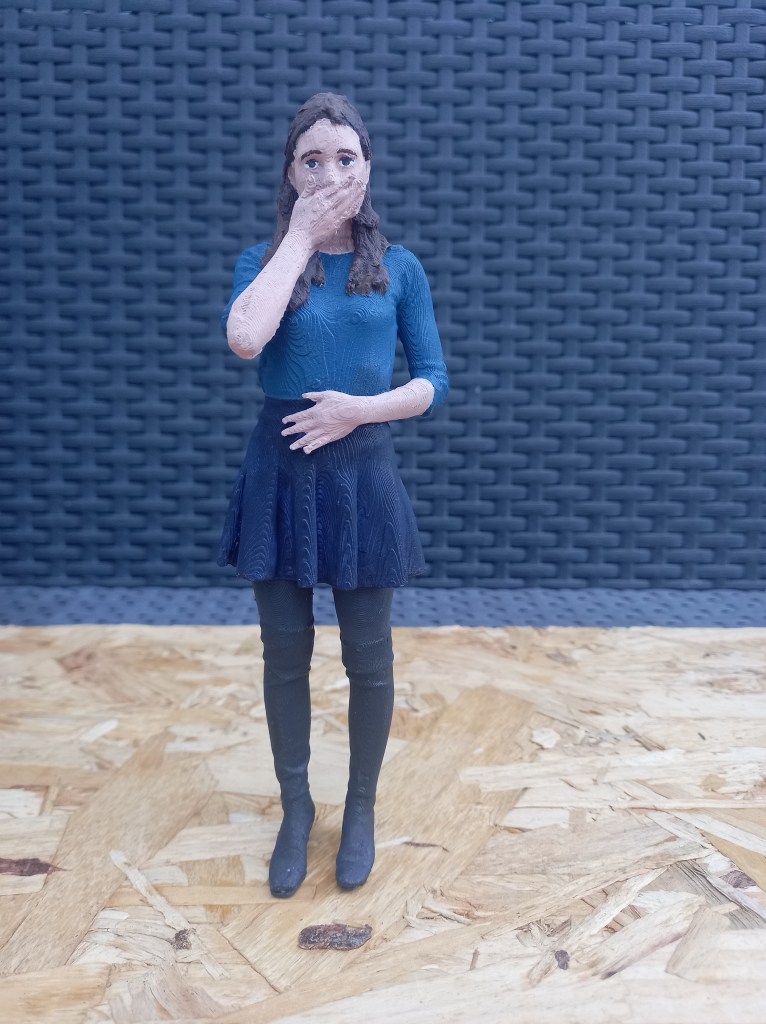
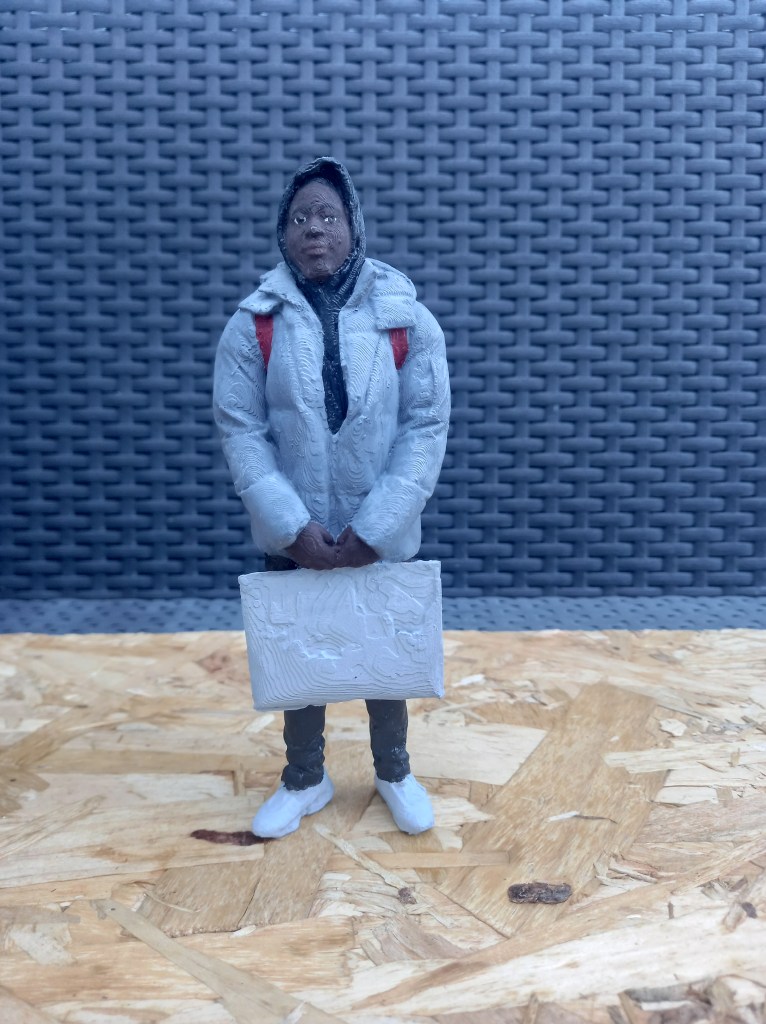
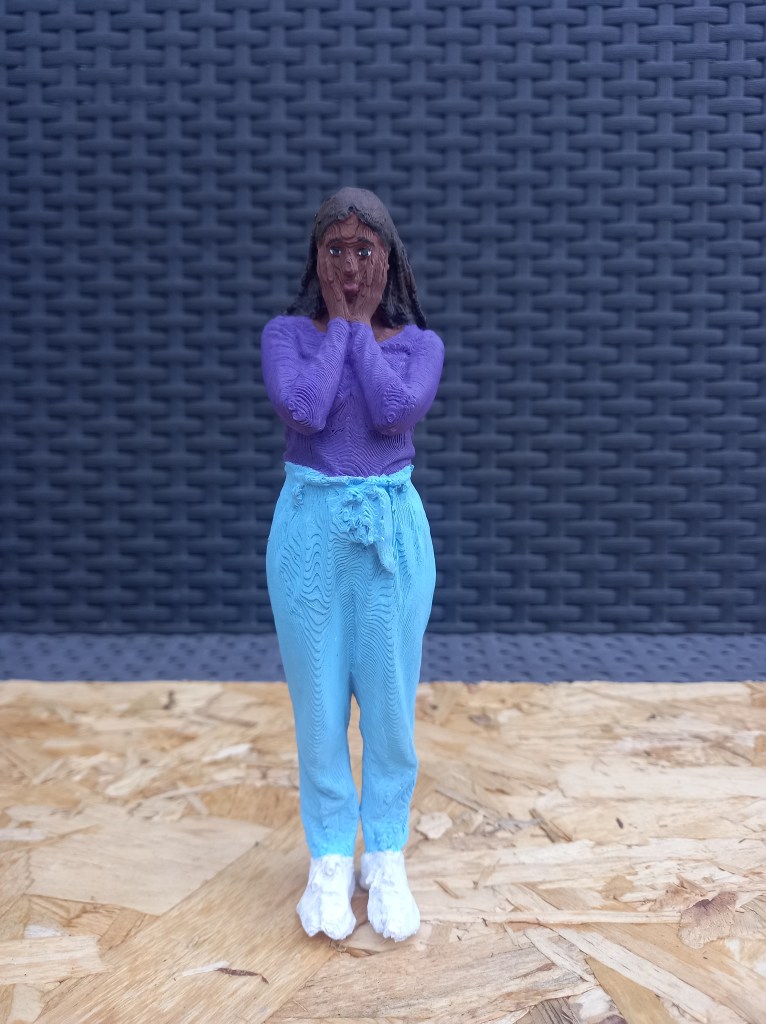
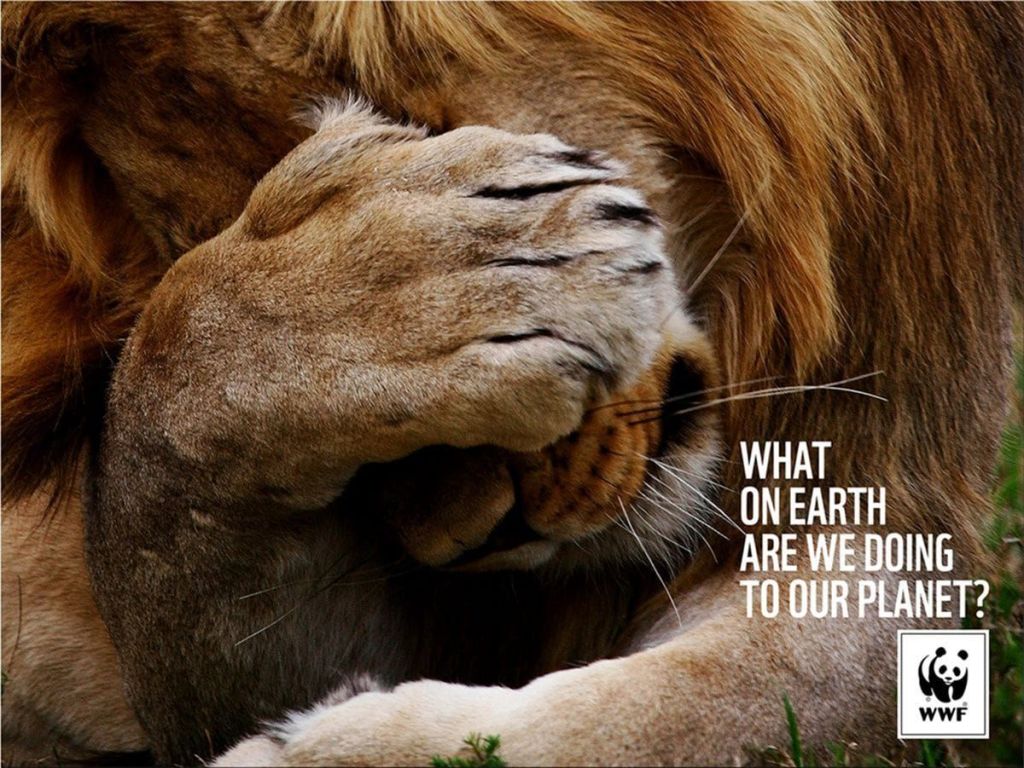
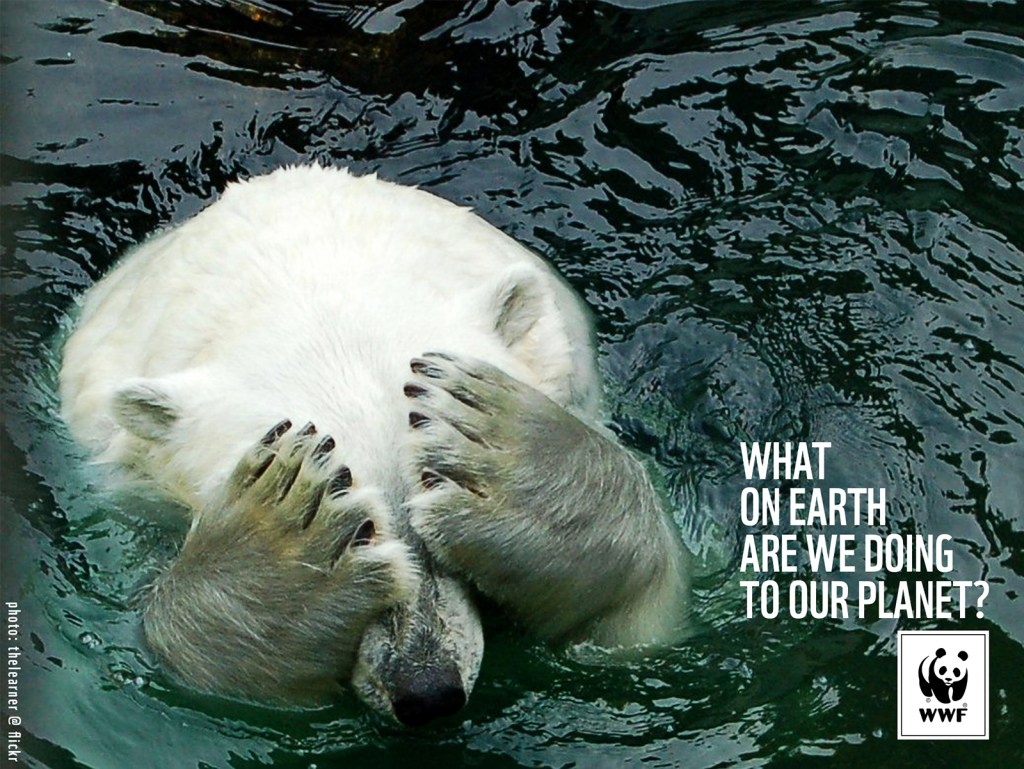
An advertisement campaign that relied heavily of the photography. It’s a very simple formula, photo of animal looking shocked and a slogan. Many versions of this where made. The slogan is a simple, catchy question that is designed to get the viewer to think. As humans we connote that bodily action with an emotion, although the animals won’t be doing it for that reason we humanise them.

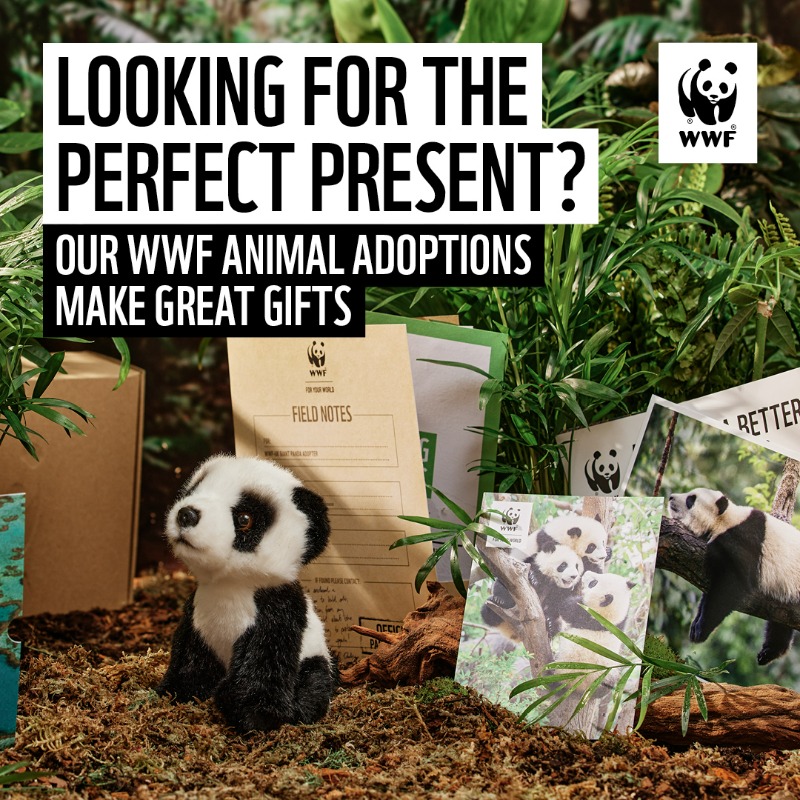
This is the adoption pack that WWF offers. It’s targeted towards children but not exclusively. It’s a good way to get people to donate as they’re offering rewards for contribution.

I think this kind of research is going to be key for this module so I’ll continue to research different kinds of brands and have a look at the idea of people being brands.

Categories
Brands Level 5

Brands: Introduction

In our first Brands session we went through the Module handbook and I made notes about the deadlines, assessment criteria and assessment deliverable

We had an introductory lecture where we discussed the basic topics such as what makes a brand, the meanings of branding, marketing and advertising and semiotics. A brand is a combination of visual communication representations. Some elements that makes up a brand are a name, logo, colour palette, typefaces, language, slogan, aesthetic tone and consistency. I made notes and research some bits further. I found it all very interesting as it’s all relatable in day to day life as we’re constantly exposed to brands and their marketing/ advertising. Even just from this session it’s made me more aware and conscious of the way brands work.

Categories
Level 5 Visual Storytelling

Visual Storytelling: Introduction

In our first Visual Storytelling session we went through the Module handbook and I made notes about the deadlines, assessment criteria and assessment deliverables.

We had a lecture where we went through some of the basics of narrative theory and narrative devices. As well as some key individuals and their ideas of narratives. I made notes from this and plan to research some of these points further. I particularly found Propp’s idea of the 8 character roles interesting as I could see each of these roles in a lot of the movies and books that I like.

The Hero Myth Cycle:

Categories
Industry 2: Professional Practice and Enterprise Level 5

Industry 2: Career Skills Group Project

In this weeks session we began to work on our group project. The group project consists of 2 deliverables, a 5 minute video presentation and a team document. I came to the session with some notes and ideas about the topic I had in mind. I pitched my idea on blackboard and I got into a group with 5 other people, 4 from illustration and 1 from graphic design. We discussed the idea and came to the decision that the core theme of our presentation was gonna be book illustration.

Each of us is gonna take 1 subsection to research and take charge of. This is the mind map we made showing what we are each gonna do and how all 6 parts link in together to make a cohesive presentation.

I will be focusing on children’s books. Throughout this week I will research each aspect on the mini mind map. The 2 illustrators that I’m gonna try get it contact with are Evgenia Malina and Alex T Smith.
We also discussed idea for how we want the video to be and created a schedule to help us meet the deadline.

In accordance with our schedule I will complete my research into children’s books by Monday 9th so I can write the script in the Mondays session.

Categories
Industry 2: Professional Practice and Enterprise Level 5

Industry 2: Professional Practice and Enterprise introduction

In our first session we went though the Module handbook and I made notes about the deadlines, assessment criteria’s and assessment deliverables.

Categories
Level 5 Visual Storytelling

Visual Storytelling: Summer Brief

This task was given in preparation for the visual storytelling module. The task was to produce a wordless picture book for a famous story of our choosing. I wanted to work on a story that I’m passionate about so I chose my favourite book, Mrs Frisby and the Rats of Nimh by Robert C. Brien. Although I’ve read the book multiple times I needed a refresher of the story so I read through notes and summaries of the events. Then I was able to choose what I thought where the 6 key plot points that I could also create interesting and varied illustrations with. These are Timothy’s illness, Mrs Frisby getting advice from the Owl, Mrs Frisby going to meet the rats, the rats explaining their back story, Mrs Frisby escaping Mr. Fitzgerald’s cat and the mice’s freedom.

These are my initial thumbnail sketches for each of the 6 scenes. I gave the scenes each a 1 word title, sickness, advice, secrets, experiment, trapped and freedom. I varied each of the illustrations size and shape as well as compositional arrangement to keep them interesting. I look up any illustrations and visual media for the book that I could find to use as inspiration. The style I chose to go with was a black biro sketchy style. I really enjoy working with this medium and think it’s translates well to book illustrations.

Then I developed the initial sketches to include more detail and finalise the compositions.

These are the first 2 of the finalised images. I’m happy with my choice of style as I was able to get lots of texture and depth with the cross hatched shading. I also think this images represent Timothy’s sickness and Mrs Frisby getting advice from Mr Ages well.

Sickness:

Advice:

Categories
3D models summer work Level 5

Industry 1: Summer Project- Finished Models

Here are some pictures of the finished models. Overall I’m very happy with how they have turned out. I’m pleased with the colours and detail I was able to achieve. I learnt a lot from completing these. I stared the process completely new to all of it but I’ve learnt and became more confident with any skills. Such as 3d scanning, editing scans, 3d printing, and working on/painting 3d models. These are all skills I’d like to advance further. They did take longer than I originally thought they would to complete. At some points I did get a bit tired of it but in generally I enjoyed the process. I was given lots of creative freedom on this project and I liked that. I’m excited to see them displayed at the University in the model of the Great Hall.

These are some photos of the models in our exhibition at the Harrow campus. It was nice to see them on display and get some positive feedback about them. I’ll be continuing this project in the Industry 2 module so I look forward to that and the big exhibition at 309 Regents street.

I logged the hours I spent making these onto my DCDI work based learning form.

Categories
3D models summer work Level 5

Industry 1: Summer Project- Sealer

When all the painting was done and dry I finished them with a clear sealer. I lined them all up outside making sure to protect them if they fell. I sprayed them evenly all over from around 30cm away to help secure the paint and give them a matte finish. I sprayed them with 3 coats of sealer and left them to dry. Once this was all done I carefully packaged them up and sent them back to the university.

Categories
3D models summer work Level 5

Industry 1: Summer Project- Painting skin

Mixing and painting the skin tones was the most difficult part of the process. I tried to get the skin tones as accurate the the reference images as I could. I watched lots of videos to learn how to mix skin tones. I decided the most efficient way to do this would be to make a big mix of paint from equal parts red, yellow and blue then from that base created each models individual skin tone. I started with the darkest skin tone and worked to the lightest. This way I could work off the previous tone to create the next one. I did all the skin tones before I started any of the facial features. At this point it became very tricky to get into all the little areas without getting paint of the hair of clothes. Due to this progress became slower and the skin took me around 15 hours to complete.
Once all the skin was dry I started the facial features. I did research looking at marvel and other action figures to see how to do the facial features what what level of detail. I decided for each I’d do the lips, eyebrows and for the eyes, the white bit with a black pupil and line at the top for definition. I had to exclusively use the thinnest brush I have for these. I completed all of 1 feature before moving onto the next. I started with the lips, I used a more red version of their facial skin tones. This was the easiest feature to do. Then I did the eyebrows and used a variation of the hair colour. Finally, the eyes which where by far the hardest part as there was more detail and more room for error. I spent a while on each trying to get them symmetrical which was difficult with the texture of the models. I used black pen to get the pupil as it was too small to accurately use paint. These took me about 5 hours to finish.

Categories
3D models summer work Level 5

Industry 1: Summer Project- Painting outfits and hair

For painting the figures I began with the clothing. I had coloured reference photos for each of the figures. I took the ideas from the colours of the outfits but made lots changes as there where lots of dull greys and blacks. And these would have been boring to paint and less visually striking within the model of the Great Hall. I wanted to make sure they all stood out without making all the colours obnoxiously bright. Furthermore, the brief wanted modern day looking people so I tried capturing that with the colour choices.
I made sure to mix every colour myself and not use any paint straight from the tube. This make for more realistic and cohesive colour palettes. A tip that I was given was to desaturate the colours using grey to make the models appear larger. I made sure when making each colour to create an excess and not wash out the palettes. This way I would have spare to paint over any mistakes or bits I missed without spending the time mixing the exact colour again. This really helped save time especially as I got the the smaller details.
I used different thicknesses of brushes to cover all the clothes. I painted 1 models outfits fully then moved onto the next. This is the work flow I chose and after finishing it I feel like it was a good decision. The paint dried faster than I thought it would which was very helpful for speeding up the painting process. Completing all the outfits took around 25 hours in total

After the outfits I did the hair and accessories like caps and phones. There wasn’t a huge variety of hair colours, mostly shades of brown so I altered some but not drastically. I started with the darkest hair and moved to the lightest. I did each hair with slight colour variations. Giving it a bit more of a realistic look with some lighter and darker bits. With some of the longer hair I accidentally painted over bits of the clothing so it became very helpful that I had been saving the paint from the clothes. For the hair I mostly used thin brushes as there was lots of small gaps that were hard to fill. The hair took about 10 hair to do.

I’m very happy that the repairs I made with the modelling clay have held well and aren’t noticeable after I’ve painted them.