Now that I have my finalised colour illustrations I need to prepare the files for in the correct way for Riso printing. One important thing I did throughout the process of colouring the my images was to put each bit of colour on a different layer. This made adjusting the colour easier and will make creating the colour profiles easier.
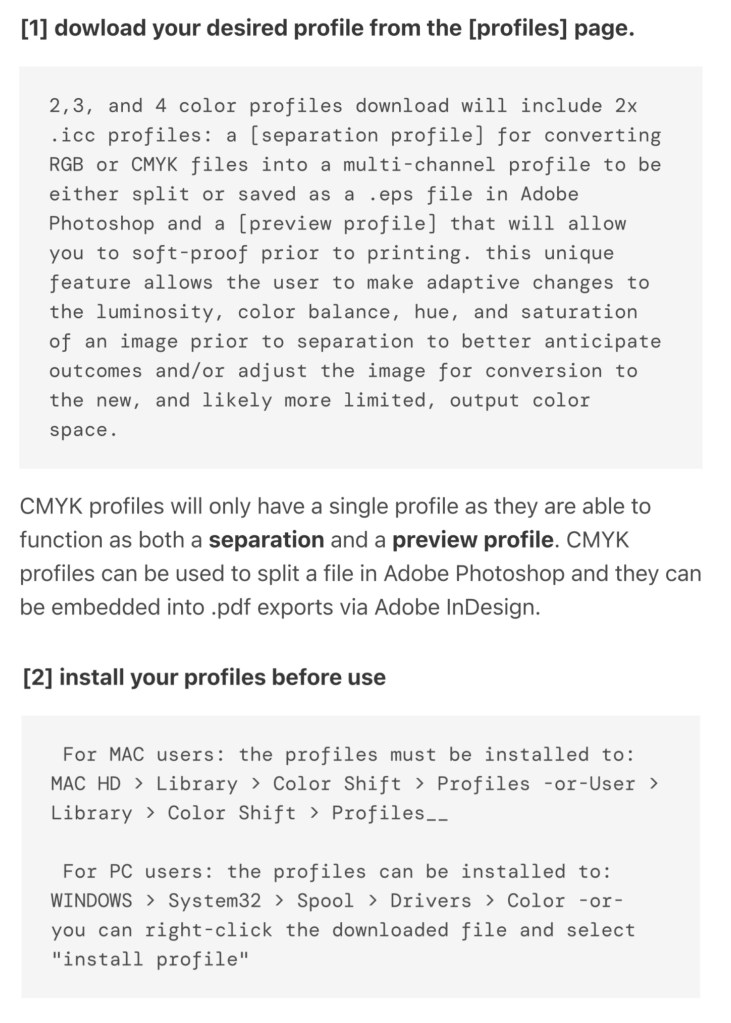
Color/shift: downloading colour profiles
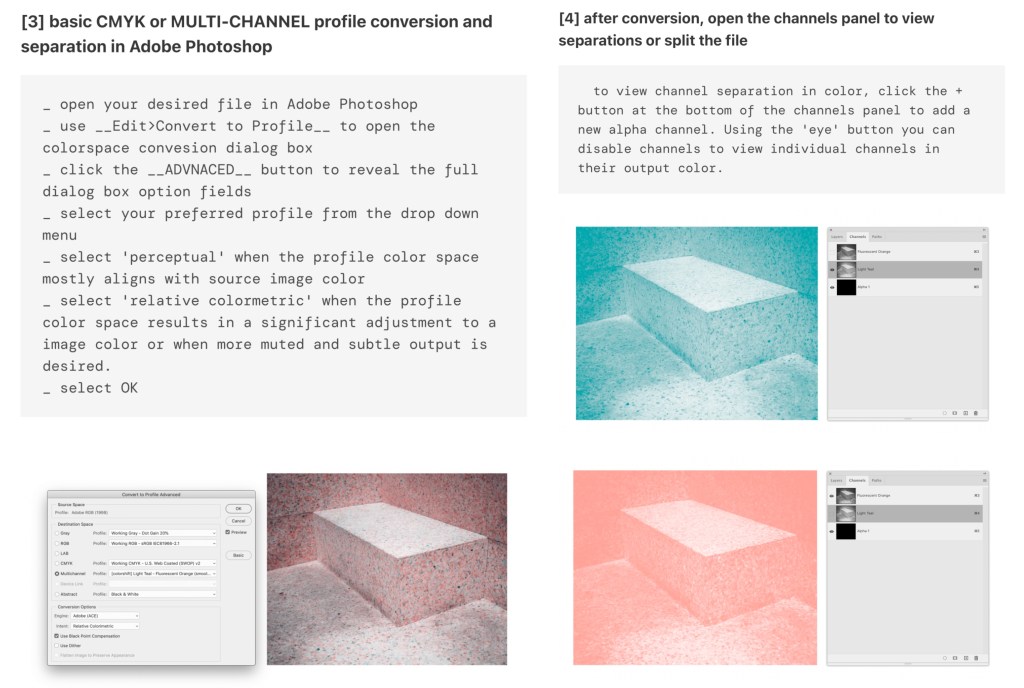
During the induction I learnt about a couple of different websites that can be use to create colour profiles for Riso printing. The one I used was Color/shift. Using this website you can download specific colour profiles and then add them to an image and it will automatically sepertea the colours. Below is the link to their website and a list of instructions on how to download and use different colour profiles:
https://colorshift.theretherenow.com/how-to-use

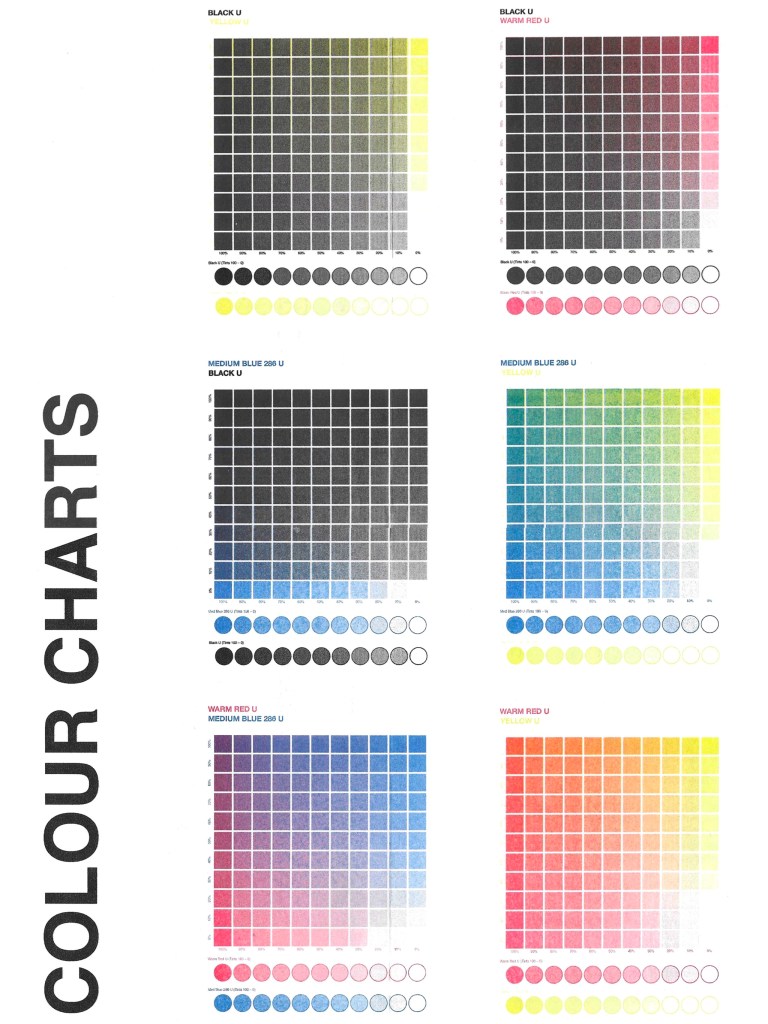
Colours available at University for Riso Printing: when picking what colour profiles to use it was important to keep this colour chart in mind as I will only be able to achieve these colours:
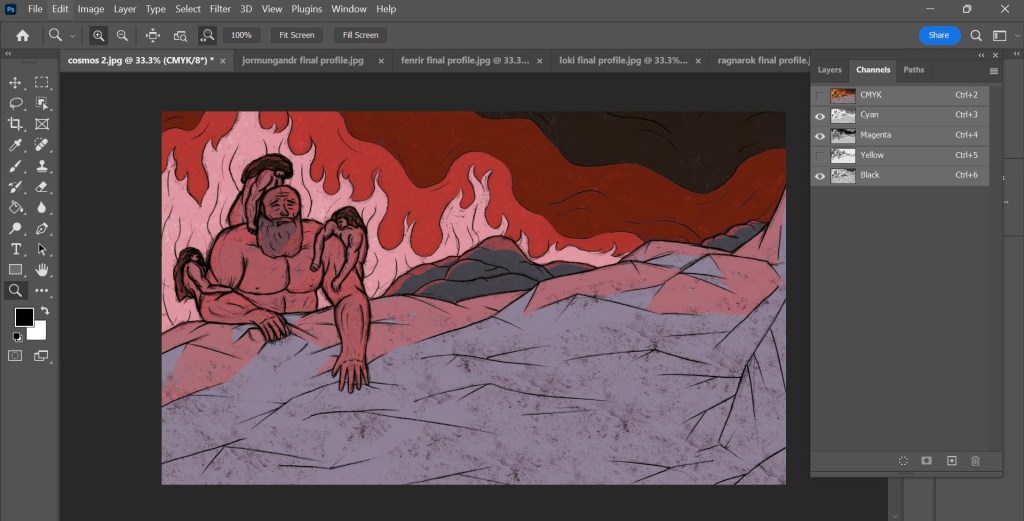
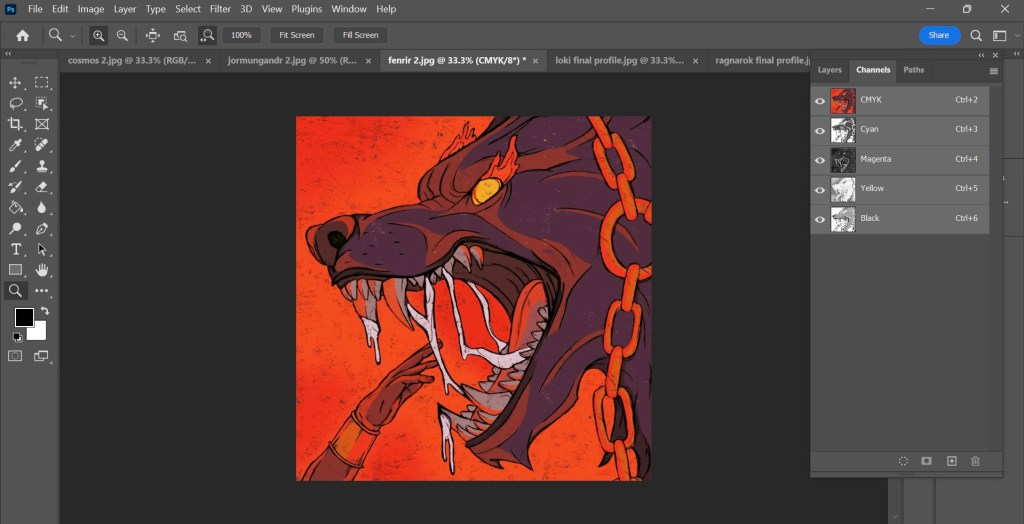
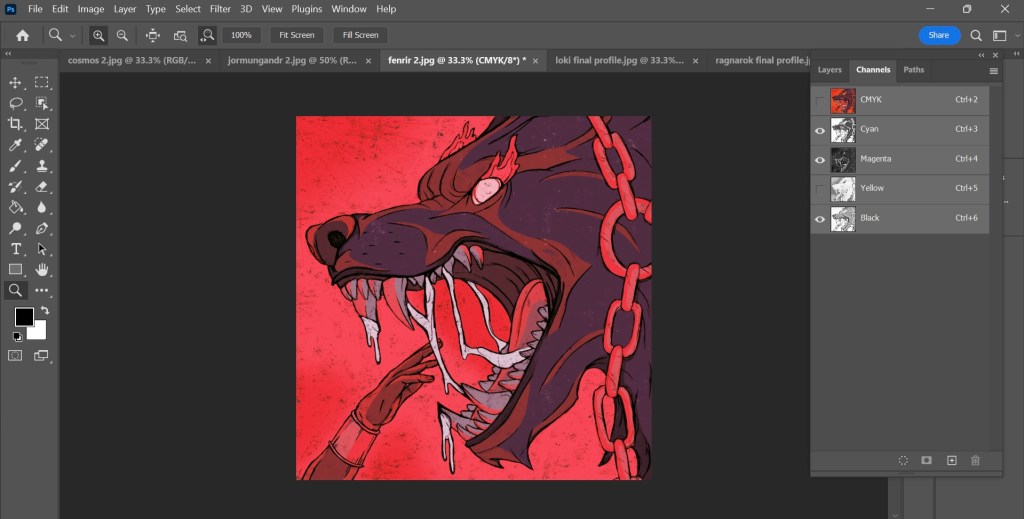
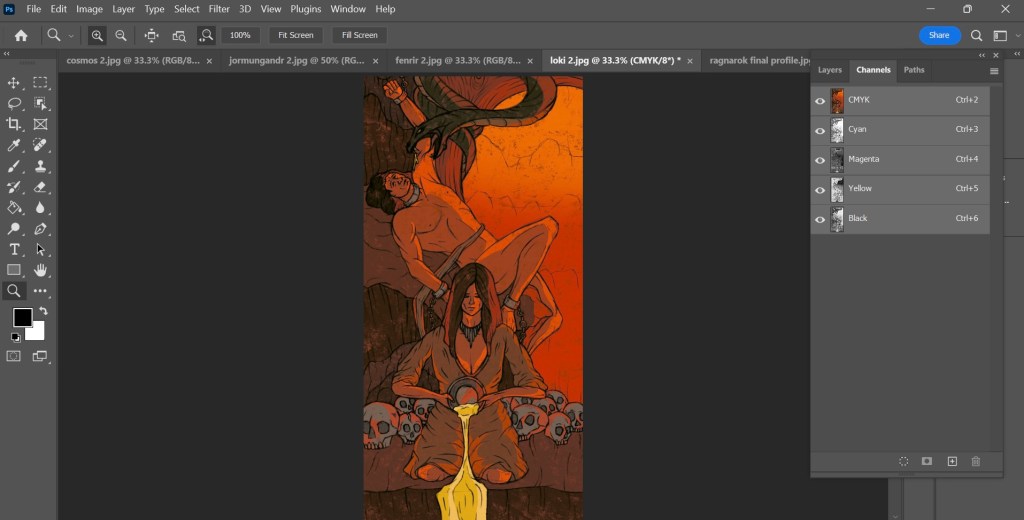
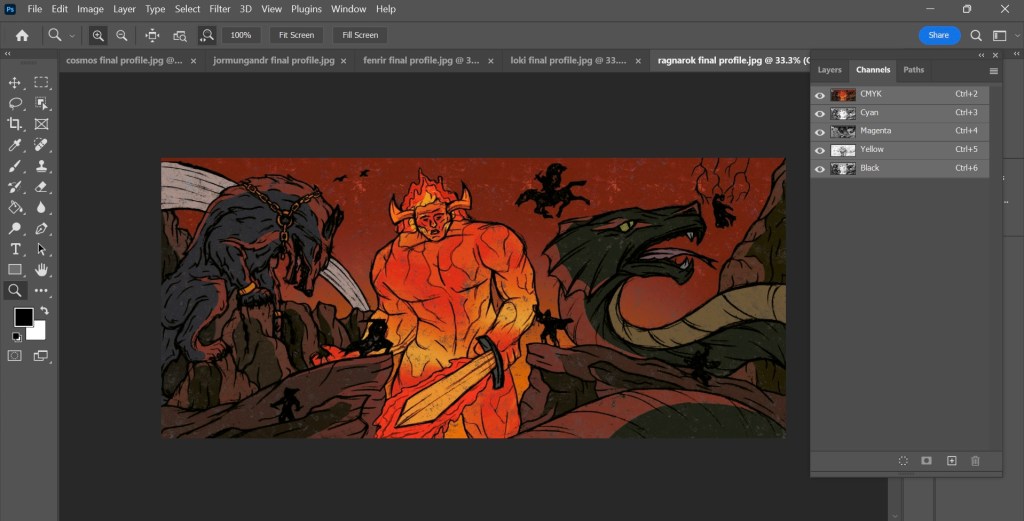
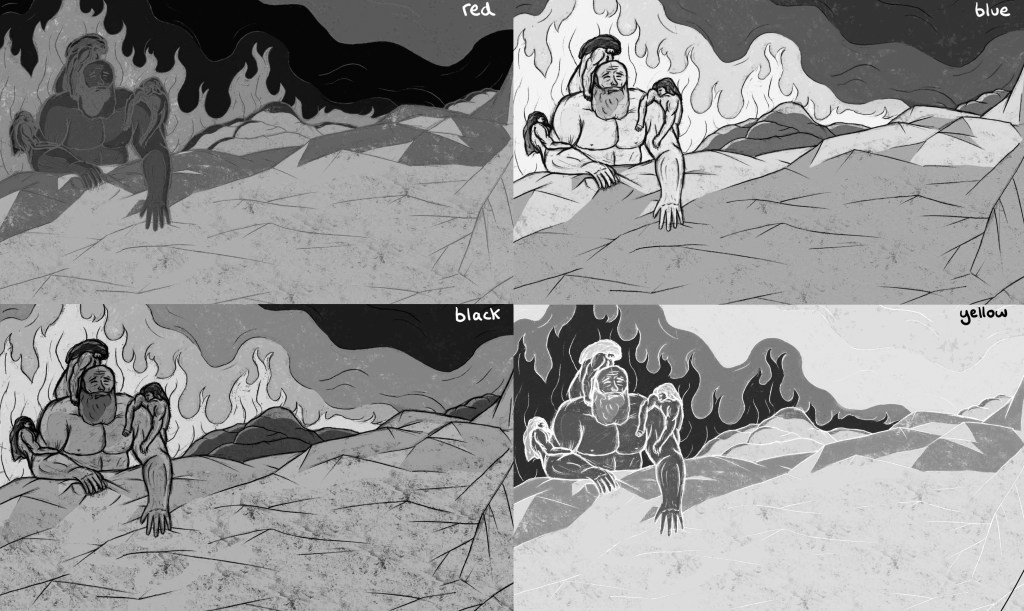
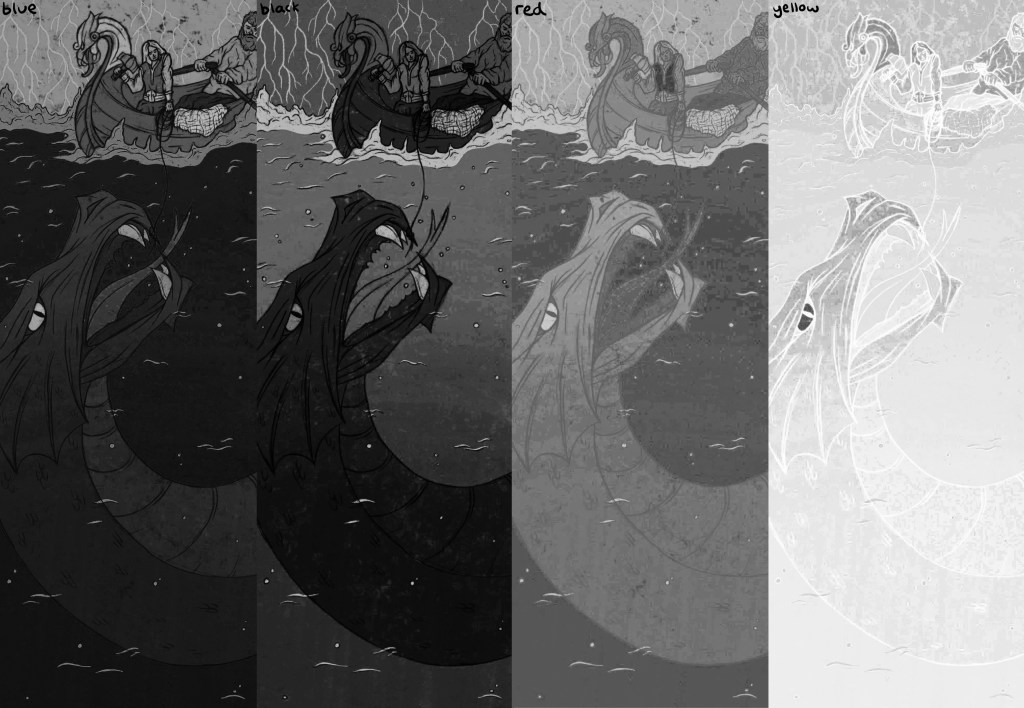
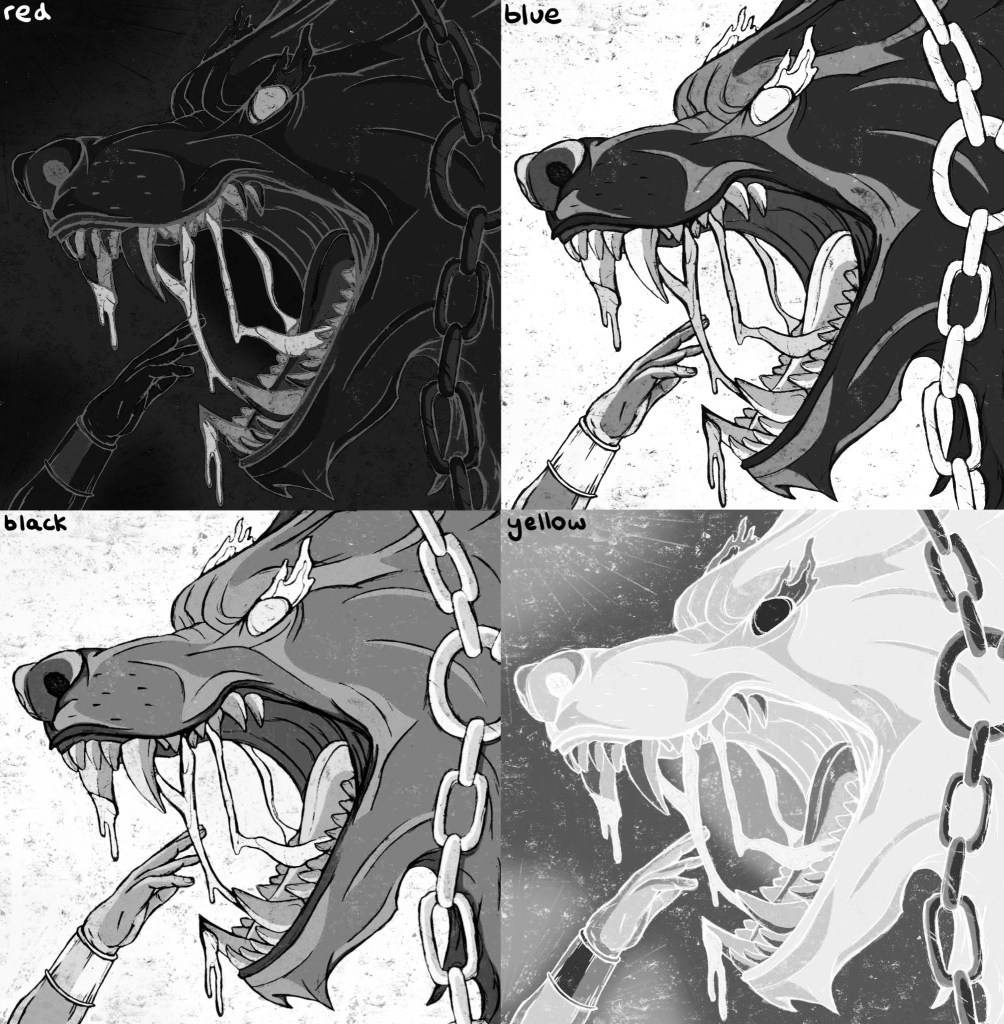
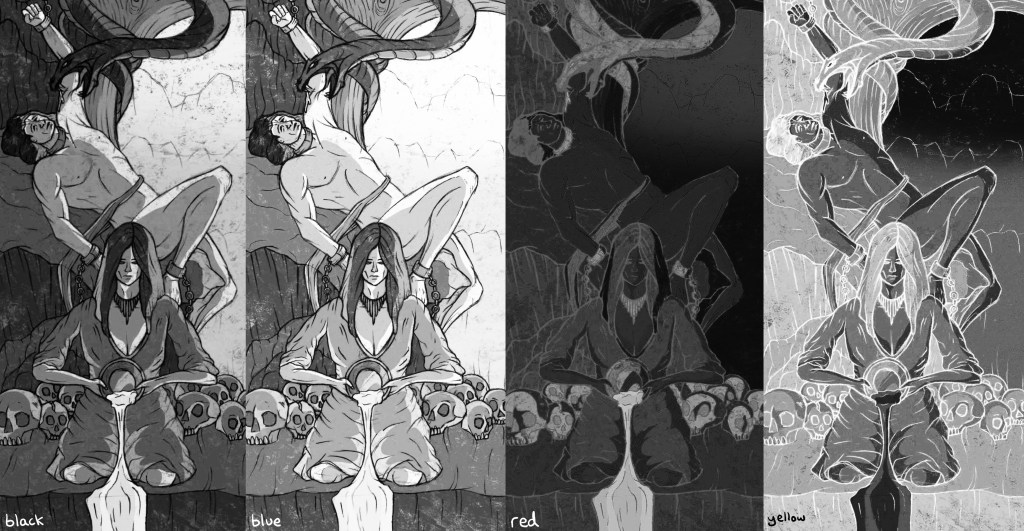
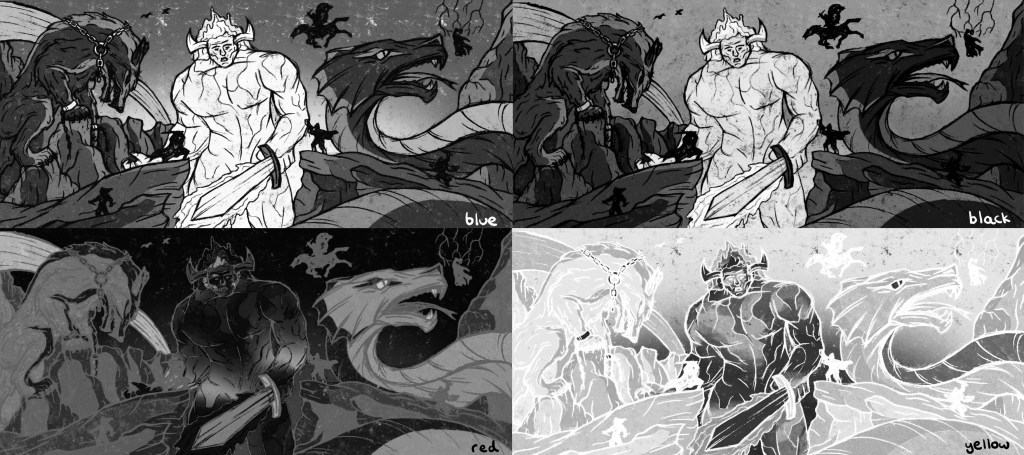
Photoshop Colour Profiles: I downloaded the CMYK colour profile as it is very close to the blue, red, black and yellow that I can use for Riso printing. With this I was able to get an idea of how the prints will look and what potential colour combination I could use. Below are screenshots on the colour profile being applied to my illustrations. The top one for each is a combination of all the colours and the second has one colour removed.
Creation of the Cosmos:

Thor fishing Jormungandr:


Binding of Fenrir:
Loki bound:

Ragnarok:

Colour Seperations: after applying the colour profile to my images and experimenting with different combination I separated each layer. When you separate them they automatically become greyscale as this is the format they need to be in for Riso printing. I then saved each separate colour profile as a PDF. Below are the 4 colour separations for each illustration that I can use for printing:
Now that I’ve added the colour profile as saved each colour separation as a PDF I’m ready to begin printing.
