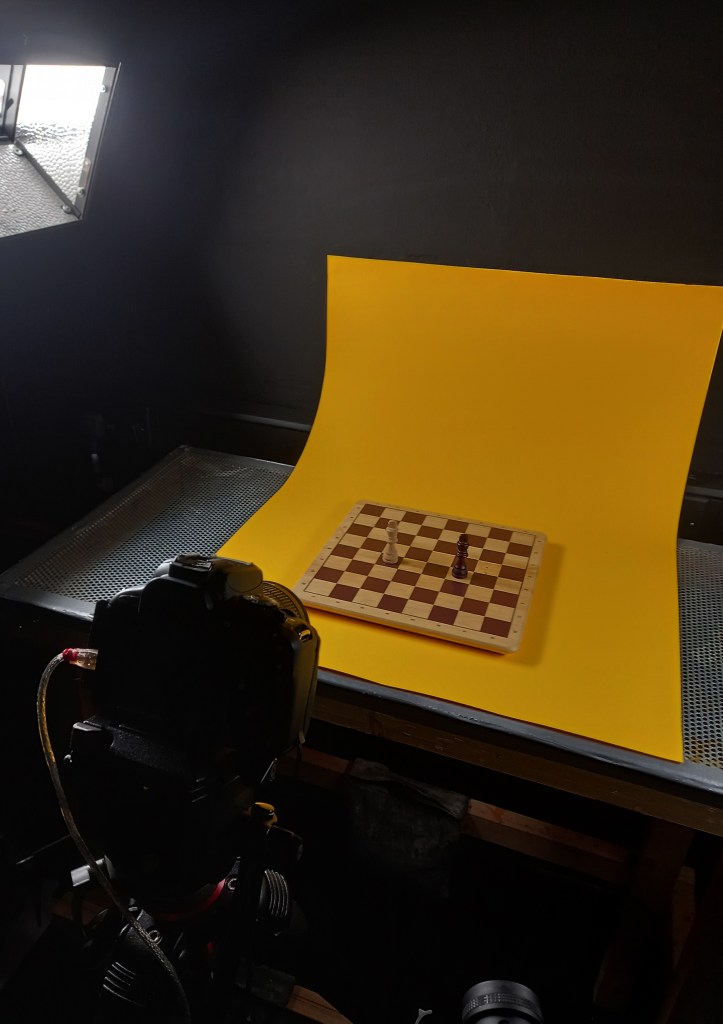
During the reading week I booked out one of the bays in the stop motion for the week to shoot my stop motion sequences. I booked it out for the whole week to give myself plenty of time as I will be learning on the go and am unsure exactly how long it takes to shoot stop motion. I used the first day primarily for hiring out all the necessary equipment, learning how to use and set it up and getting comfortable with actually shooting a smooth stop motion sequence.
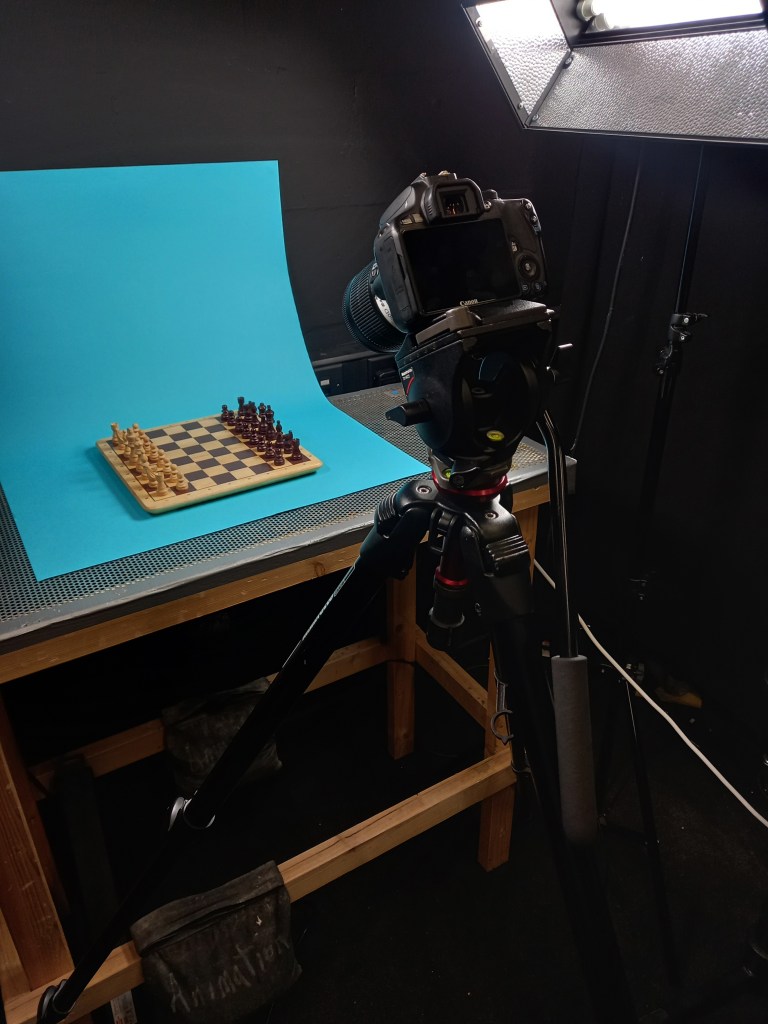
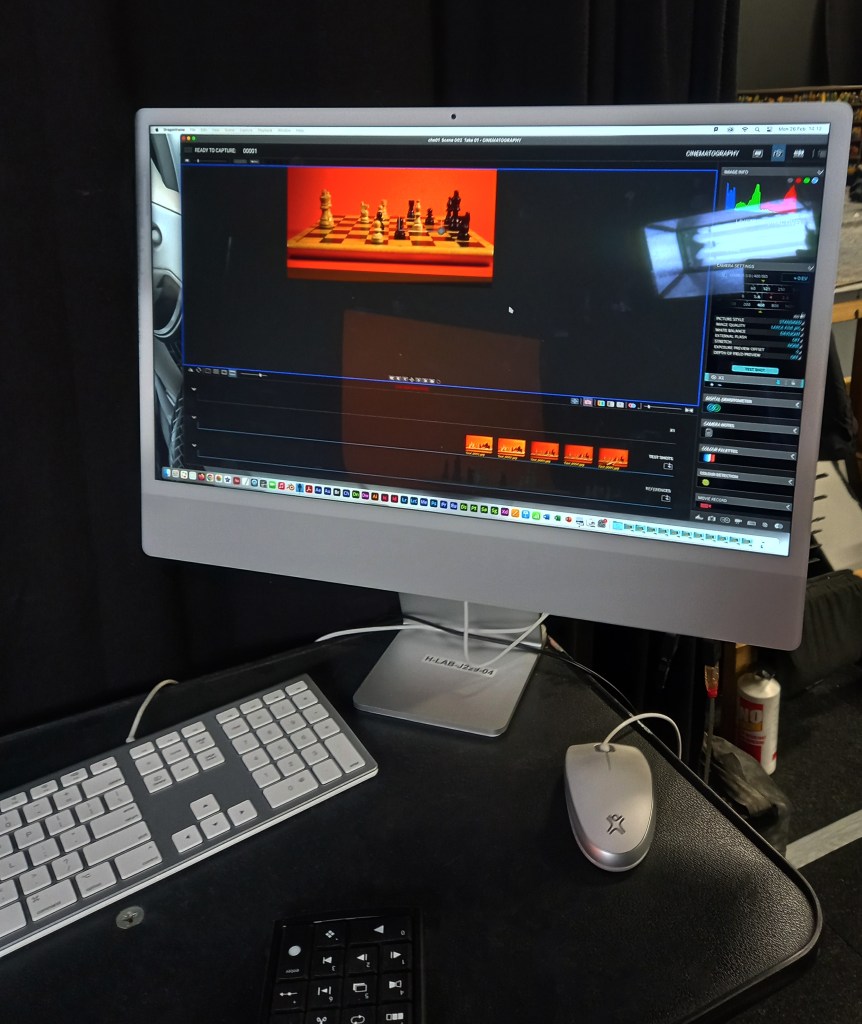
The equipment I hired out was a Canon 100D camera, a tripod, a dedo light and a focusing lens for the dedo. I borrowed all of these for the week from the media stores. There was also 2 big lights, 1 in each side of the table that was already setup in the studio. Setting everything up was a long process that took me the first day to get comfortable with. Cable management was important as there was so many wires that I had to carefully organise them to avoid a safety hazards. Once I put the camera on the tripod, I connected it to DragonFrame on the computer using a USB cable. This allowed me to see a live feed from the camera. This helped with framing and meant I could crop the view to the correct dimensions, 16:9. With the camera and lights all set up it was time to organise the sets and start shooting the sequences.
Photos from the studio:
Set up from scene 1:
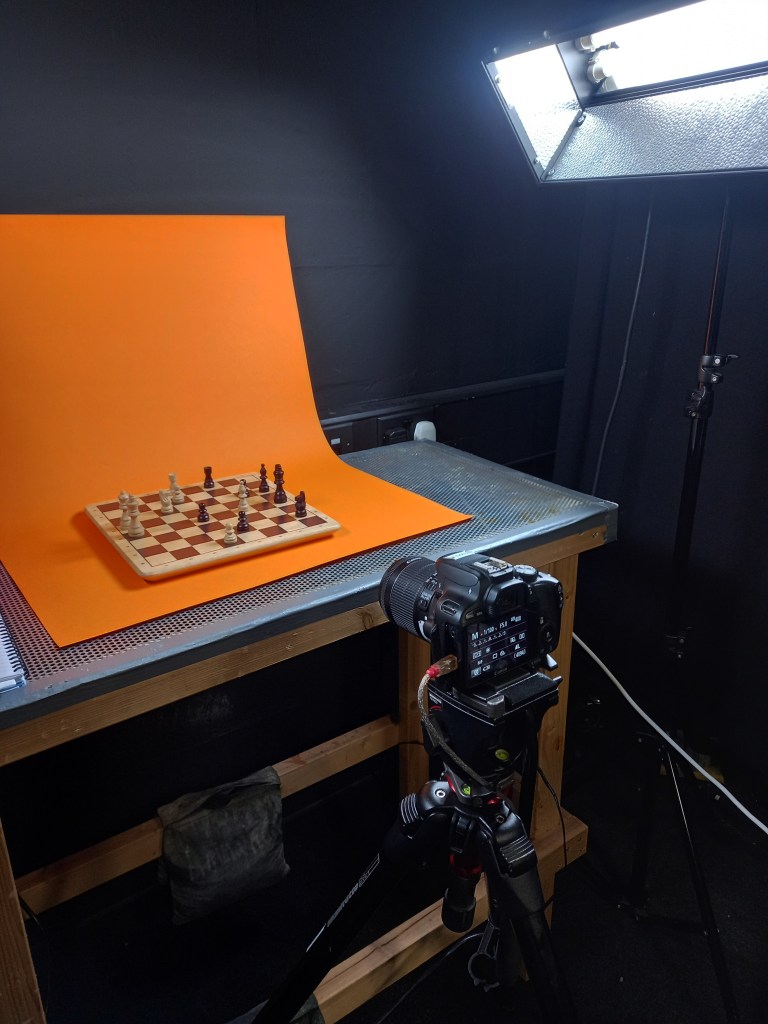
Set up for scene 2:
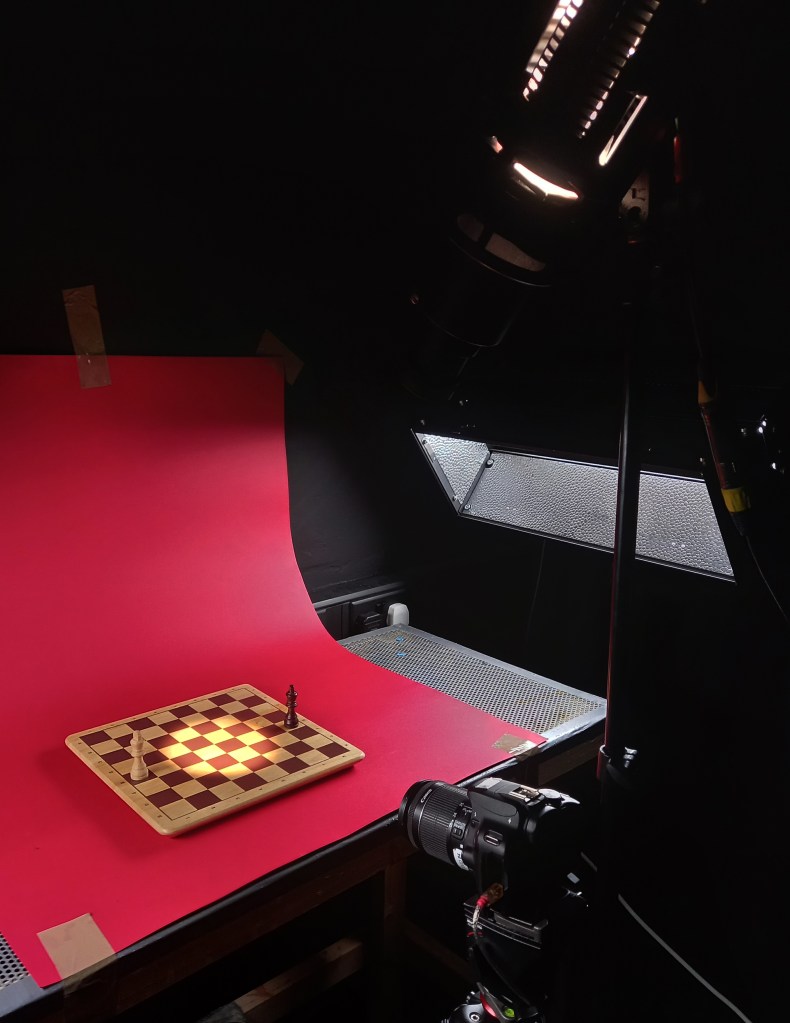
Set up for scene 5:
Set up for final shot:
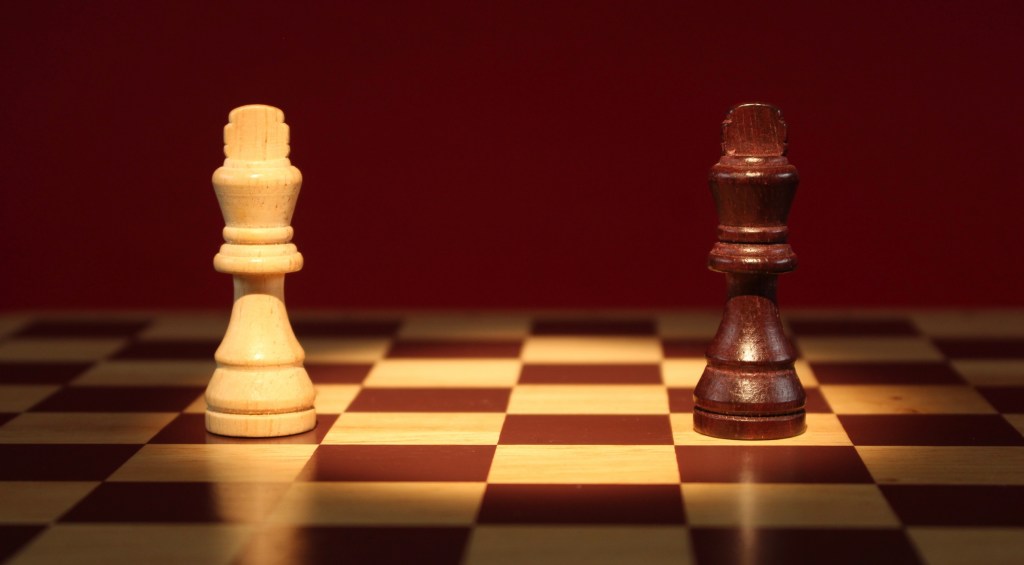
1 frame from each shot: Before going into the studio I made a plan for how I wanted each shot to be visually but I adapted these plans when I was there due to restrictions caused by the equipment or improvement in my ideas. This part of the project was fully controlled by me so I had complete creative freedom. In regard to the backgrounds and sets I wanted minimal designs but bright, eye catching colours, inspired by Handy Martian. I chose this style so the focus would be on the movement and pieces and not have too many distractions. I wanted to make the changes in colour, lighting and camera angles interesting to the viewer. Also I want to add effects to some scenes in the editing so these will help make the scenes more engaging.
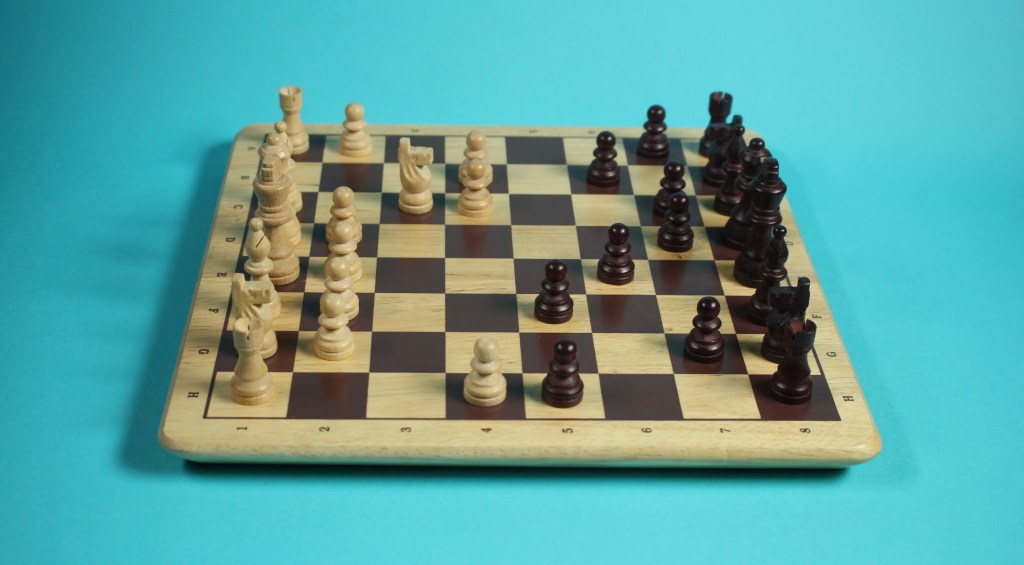
Scene 1: Game begins: The opening scene show the start of the game , where pieces begin to move at a steady speed, shot in 24 frames per second. For scene 1 I chose to have simple, balanced lighting coming from the 2 studio lights. I chose the background to be blue so it’s a cool, calm colour so that the video starts at a low intensity. The camera angle is from slightly above to get a good view of the whole board. I had to reshoot this scene a few times as I initially struggled to get the movements smooth. I was able to achieve the smooth movement I wanted by moving the pieces at smaller increments.
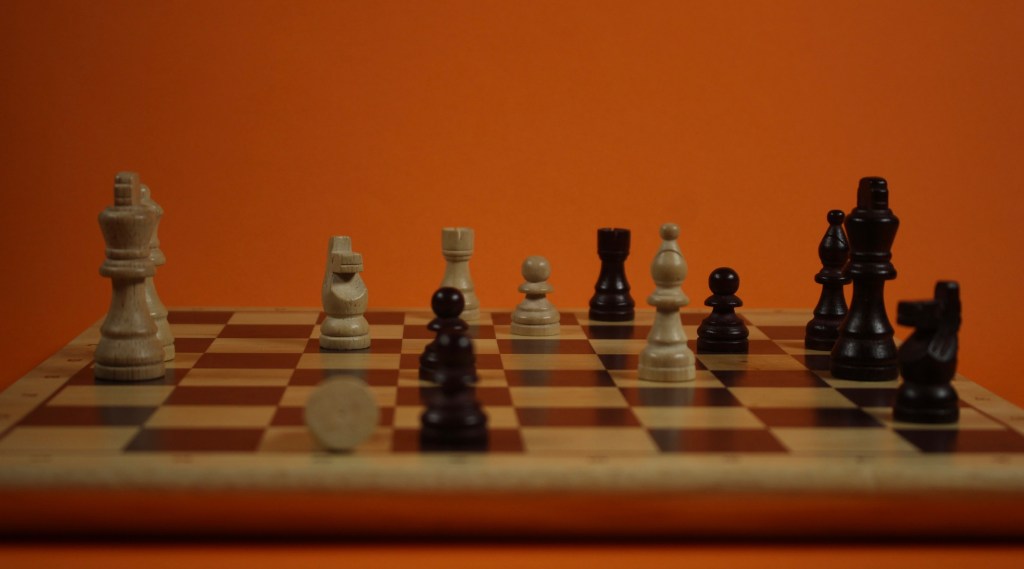
Scene 2: Battle: I wanted to have a big contrast between scenes 1 and 2 to get across a dramatic increase in intensity. The game has gone on and in scene 2 you see several pieces get knocked over. When shooting the sequence I made sure to adjust the focus to the area of the board that the battle was happening so that in editing I can zoom into that area and it won’t look blurry. This scene is also in 24 frames per second but during the editing I may slow down the pieces falling for dramatic effect. The way I made the pieces fall was using blue tack and slowly moving them down. This worked well, the only issue being that at some points it was visible which is something I’ll need to hide with editing and effects. I shot this scene at a lower angle, with dimmer lighting and an intense orange background. These changes make the scene feel more intense.
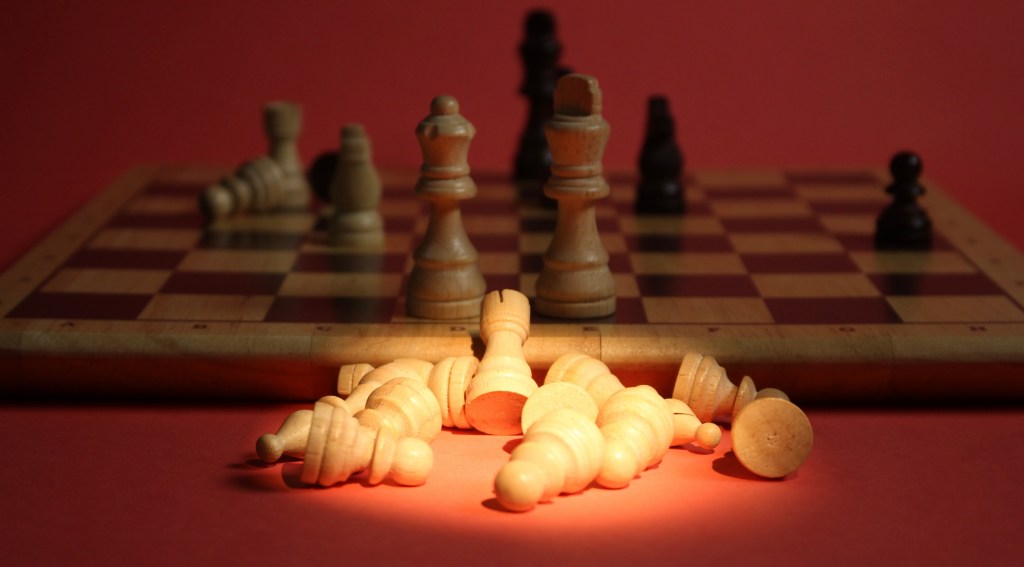
Scene 3 and 4: Graveyards: scenes 3 and 4 show the piles of fallen pieces from the back and white sides. I chose to make the scenes identical in composition to show how the game was very even. The focus of the scenes are the fallen pieces but they are static so to make the scenes more interesting I added pieces moving in the background. They move at a slow frame rate to achieve a slow motion effect. The camera angles were very similar to scene 2 and had only a slight shift in background colour, shifting to a more intense orange which ended up appearing more red due to the lighting. The big compositional shift was the lighting, I made the 2 studio lights very dim and used the dedo light with the focusing lens to achieve a spotlight on the fallen pieces.

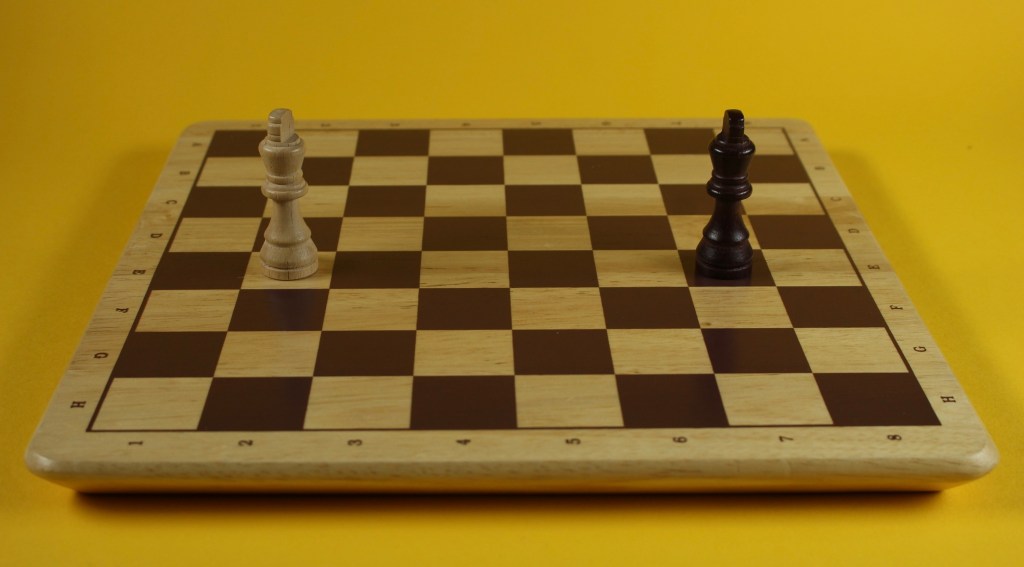
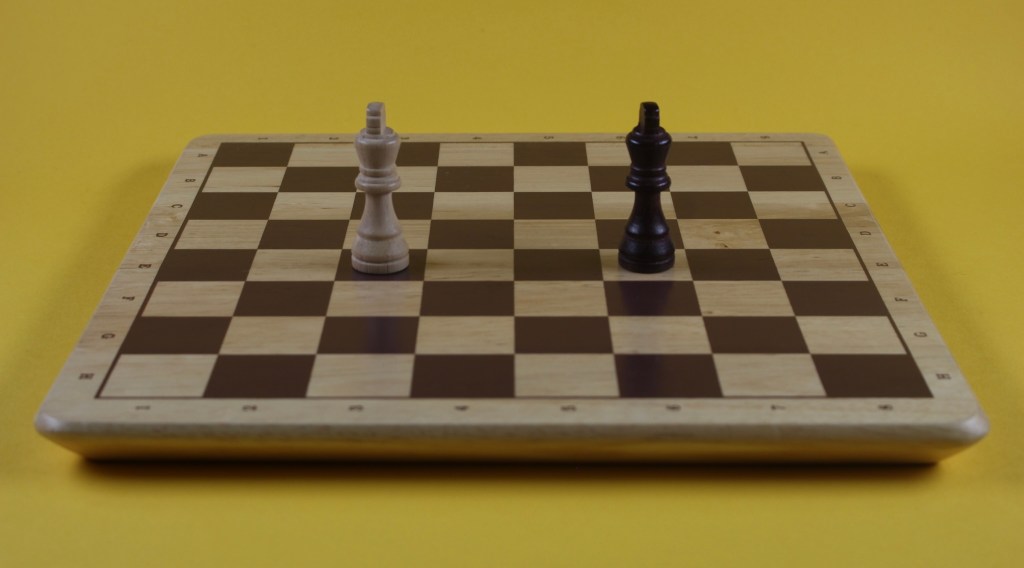
Scene 5: Face off: this is the face off scene that happens when all the pieces have been knocked down except the kings. I wanted this scene to be very cinematic and continue building up the intensity. In this scene the 2 kings move towards each other, the movement is very simple in this scenes so I had to really focus on getting it smooth. For this scene I zoomed in more and turned down the studio lights meaning most of the light was coming from the dedo light. This created a nice dramatic spot light that the pieces moved in to.
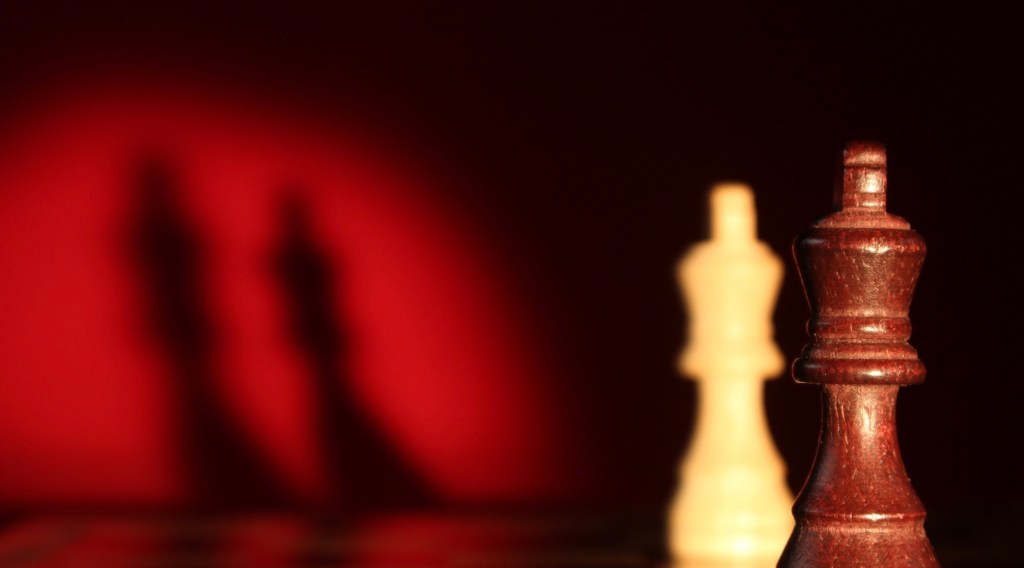
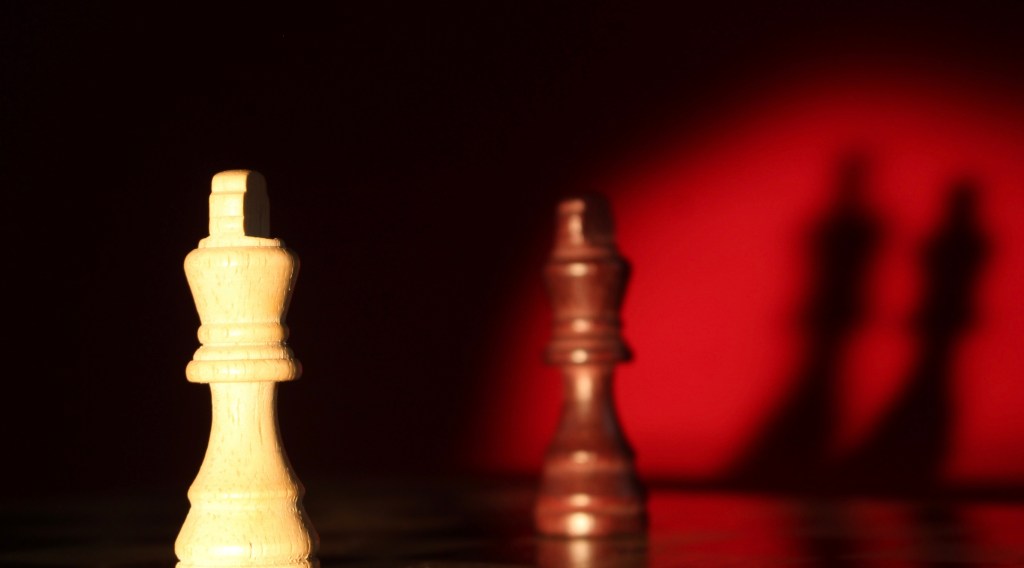
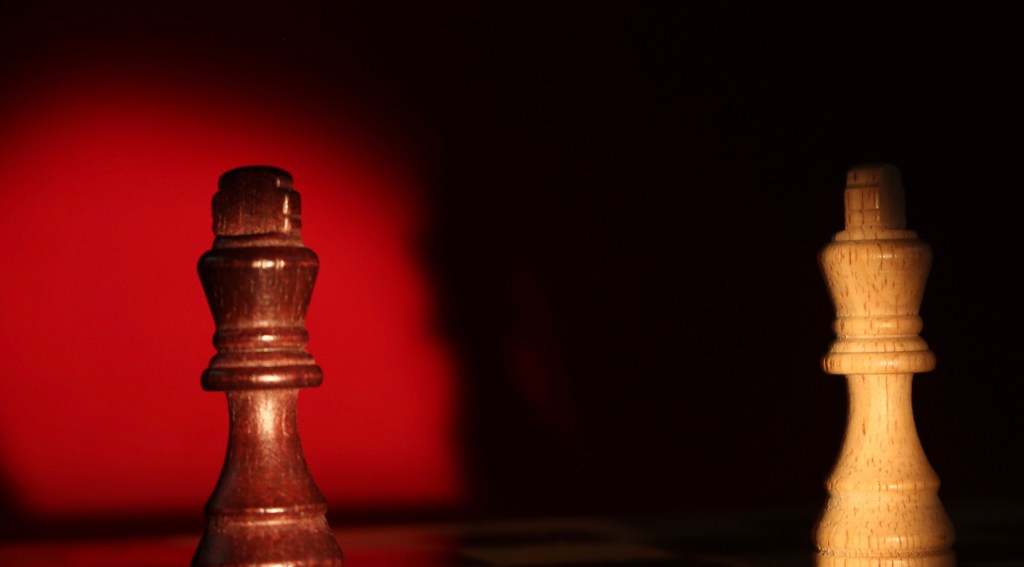
Scene 6 and 7: Intense shadows: scenes 6 and 7 are increased intensity face offs. I chose to make these fast paced scenes so there wasn’t too much of the video focused solely around the face off between the kings. I didn’t plan these scenes, they were improvised on the day. The ended up being some of my favourite shots due to the cinematic lighting and shadows. To achieve this I completely turned off the studio lights so all the light came from the dedo which allowed for these nice shadows to be cast on the bright red background. The movement of this scene is interesting as it’s the only scene that the pieces are stationary, it is the board that I moved to create this sense that the camera is rotating around the board.
Scene 8: Lights off: this is a short scene that comes at the climax of the building intensity. There is no movement in this scene, the only thing that happened is the lights slowly fade out to compete darkness. The aesthetic of a complete continuation of scenes 6 and 7 with the same camera angle, lighting and background. I struggled to make the lighting fade out smoothly so I will have to fix this during the editing.
Scene 9: Running away: this is the final scene of the video. I wanted there to be a huge shift in intensity and composition between this and the previous scenes. I built up the drama across the previous scenes which reached its peak at scene 8. Then this scene would remove all of that to show how over dramatic the other scenes had been. In this scene the 2 kings end their face off and erratically run away from each other because they’re too scared to battle. I wanted this scene to be funny and contrast the tone of the rest of the video. I removed the intensity by going back to the camera angle and lighting from the opening scene. I chose yellow as it’s a far less intense colour than the orange and reds I’d used previously so it’s another way of showing the reduction in drama.
Reshooting scene 9: Running away: I went back another day to reshoot scene 9 as I was unhappy with it. I felt that it was too short and there wasn’t enough movement. In the new version the scene lasts double the time and the kings move much faster and more chaotically around the board eventually reaching back to their start position where they start frantically spinning. I think these changes help to translate the silliness of the scene and the fear of the kings better than the first version.
Videos: when I finished shooting the scenes I saved the whole DragonFrame folder onto my drive, this included the image sequences and the videos. I downloaded the videos on my iPad and make a few quick test videos on iMovie.
1.This video is just the scenes put together in order. It has no editing or changes in them, this is exactly how they where shot with DragonFrame.
2. In this video I adjusted the speed of some of the scenes to help make the whole video flow better.
3. I began to experiment with the audio, just using iMovie sound effects to start getting a sense of where I wanted sound effects and what kind of audio I wanted to go for.
Reflection: I learnt so much during my time shooting these stop motion sequences in the studio. I learnt lots about using equipment such as Canon Cameras, and different lighting which I’m now comfortable with. I found learning about and using DragonFrame particularly interesting as this is an industry standard software that I’m confident with setting up and using. My technical and practical knowledge of stop motion animation improved so much and I was able to create scenes that were better than I had initially planned in terms of cinematography and quality of animation. The next step for this project is to start creating the analogue assets to use as effects in the video.
