3D printing is an additive manufacturing process where a 3D objects is created layer by layer using computer aided designs. Layers of material build up to create a 3D object. The opposite of this would be a subtractive manufacturing process, where a design is cut from a larger block of material. Some advantages of 3D printing are less wasted material, affordable start up costs, and the output is completely customisable. However, some disadvantages are can have a lower strength than traditional materials, increased cost at higher volume and usually requires post processing.
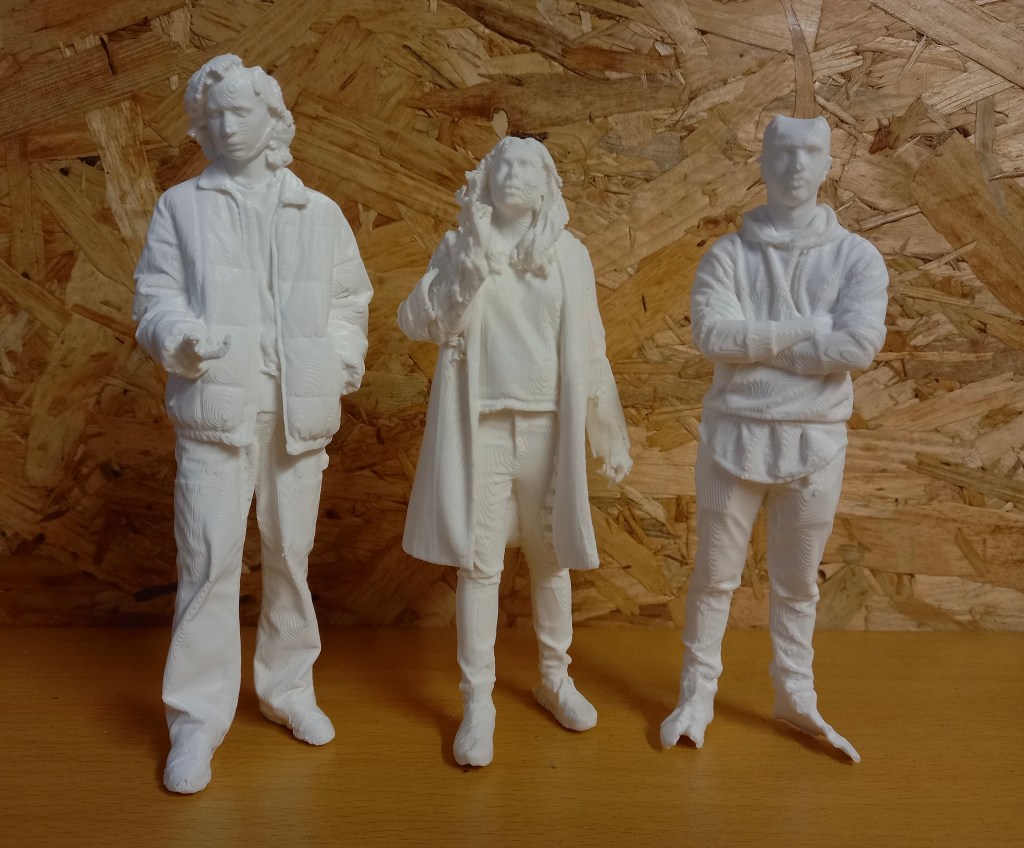
We had some 3D printed figure ready to work on so are just waiting on the batch from the most recents scans we did to be printed. Each print takes around 9 hours to complete, this is sped up when there’s more running at a single time. These will be just general visitors in the model. I will be mostly following the same workflow that I did previously as it seemed to work well for me. First I will need to remove the support structures and smooth the surface using sandpaper and tweezers. Then we’ll prime it to make sure the paint sticks well. The paints that work the best on PLA are acrylics and enamels. As we will be working with fine details we will need very fine tipped paint brushes.
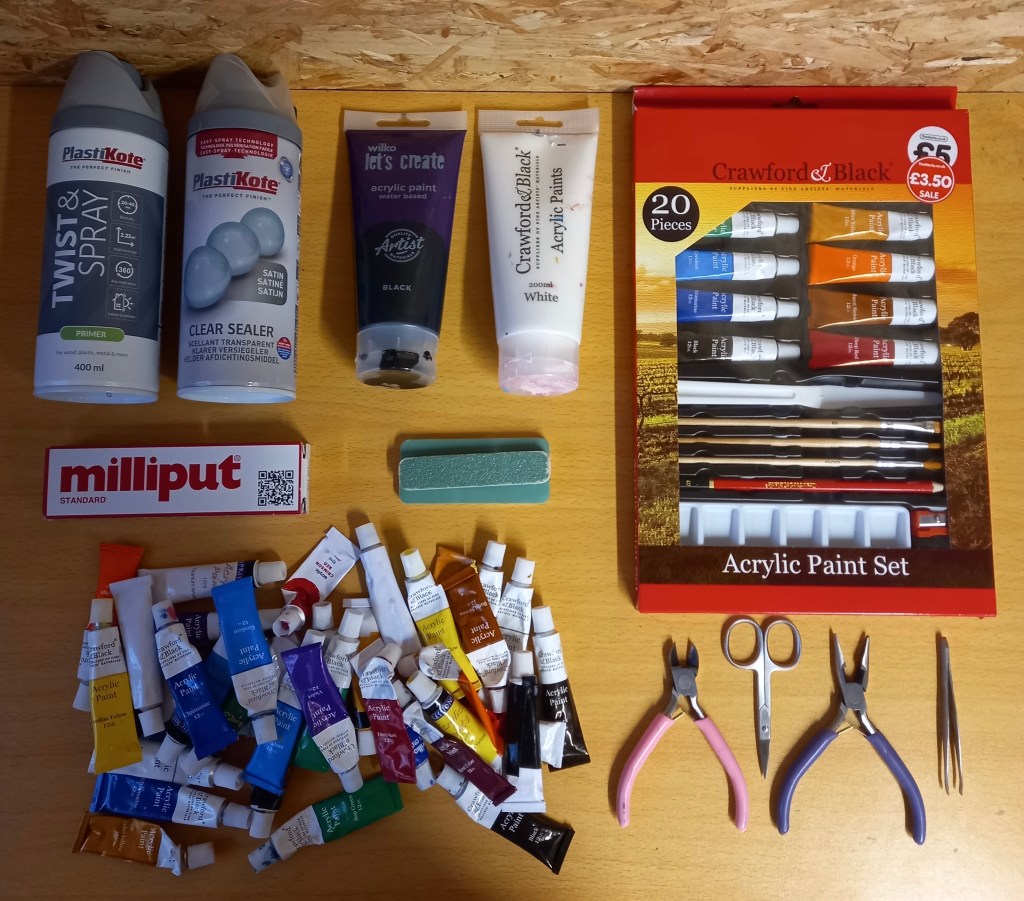
This image shows all the things I’ll need for preparing and painting the 3D models. This includes tweezers, players, scissors, sandpaper, milliput, acrylic paints, paint brushes, primer and sealer
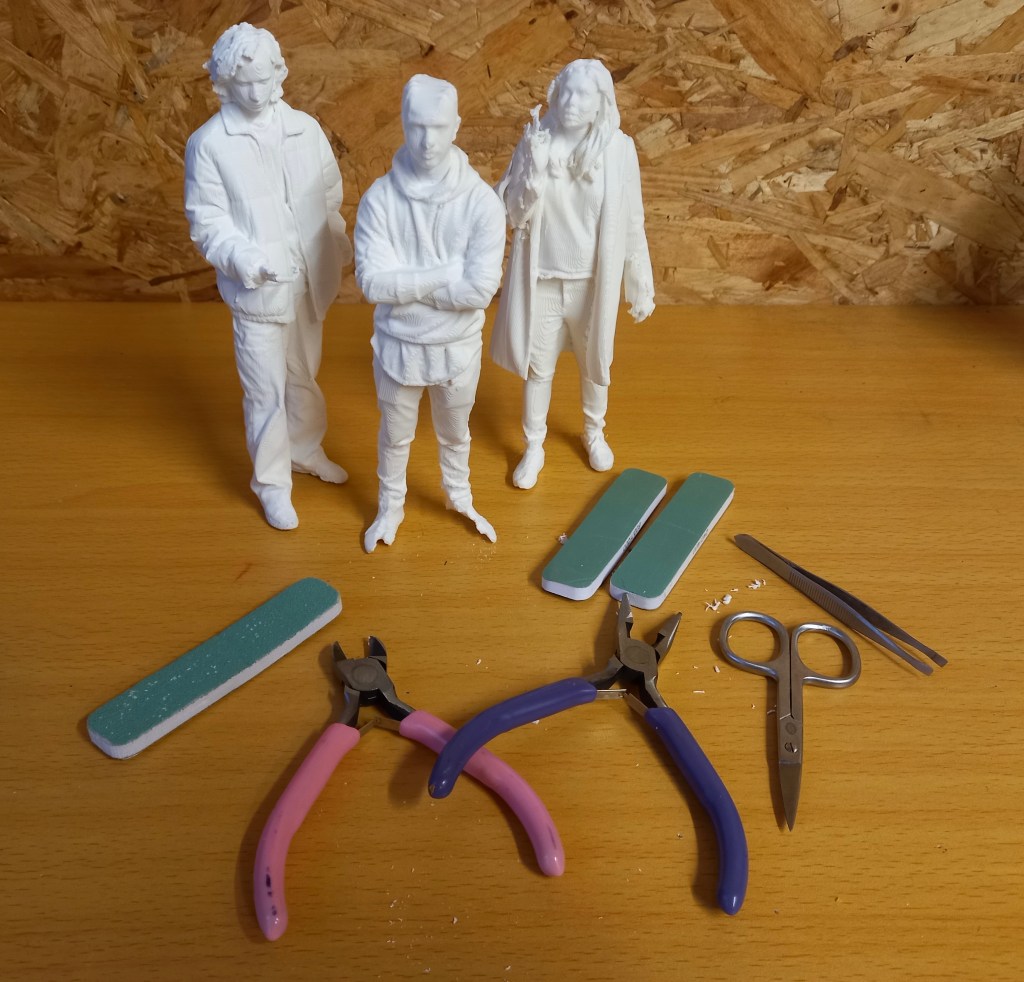
First use tweezers and little scissors to pick of the big bits of extra filament. Then sand down the models to create a smoother finish. I’ve done the best I can at sanding them down and creating a nice surface to work with but there was only so much I could do because of the texture created by the 3D printer.
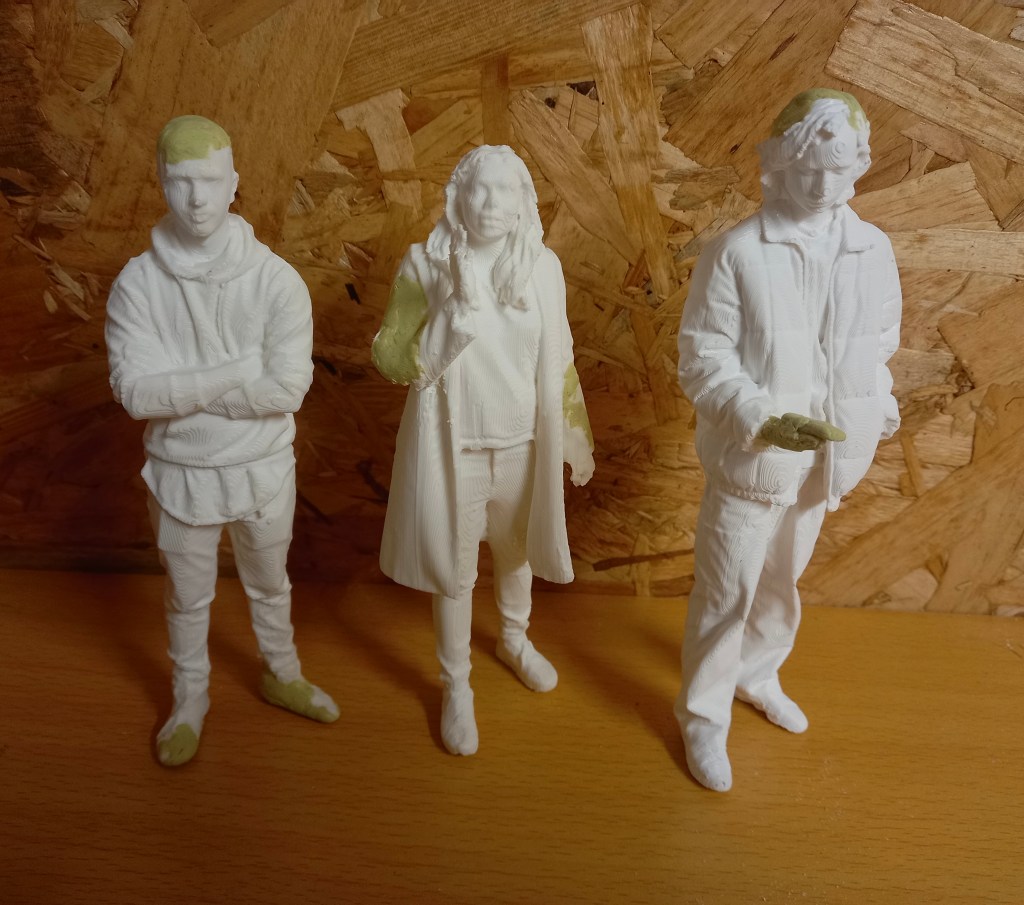
Then I used miliput, a type of modelling clay, to add in certain bits that didn’t print such as hands, phones and the tops of heads. I mixed the 2 parts in equal quantities for around 5 minutes. It softened up to become malleable and hardened again after a couple hours and was completely solid by the next day. All 3 of the figures needed some repairing. Most of it was fairly easy as it was just filing in the tops of heads and shoes but constructing a hand and phone was more challenging. I’m happy with the repairs I made but I’d look to improve the quality of the 3D scans and prints to avoid so many errors. The primer takes 24 hours to dry and hardened so after this I can begin painting them.
Spraying primer is an important step as it create a surface that the paint sticks to better. I put on safety equipment such as a mask, glasses and a glove for the hand I moved the models with. I sprayed them outside and also let them air dry outside. I had to shake the can for 2 minutes then spray from around 20cm away from the model, this helps to create a more even coverage. I did a combination of turning the model around, moving around the model and changing the height the model was at to try to cover every part. They’re not all perfectly sprayed as I couldn’t get the primer into certain bits such as the folds of some of the clothing but I think they’re covered well enough for painting. To improve this I would buy a fine nozzle extension to allow for a more precise spray. The primer is grey which helped as it was obvious which bits had been sprayed. The primer takes 24 hours to dry and hardened so after this I can begin painting them.

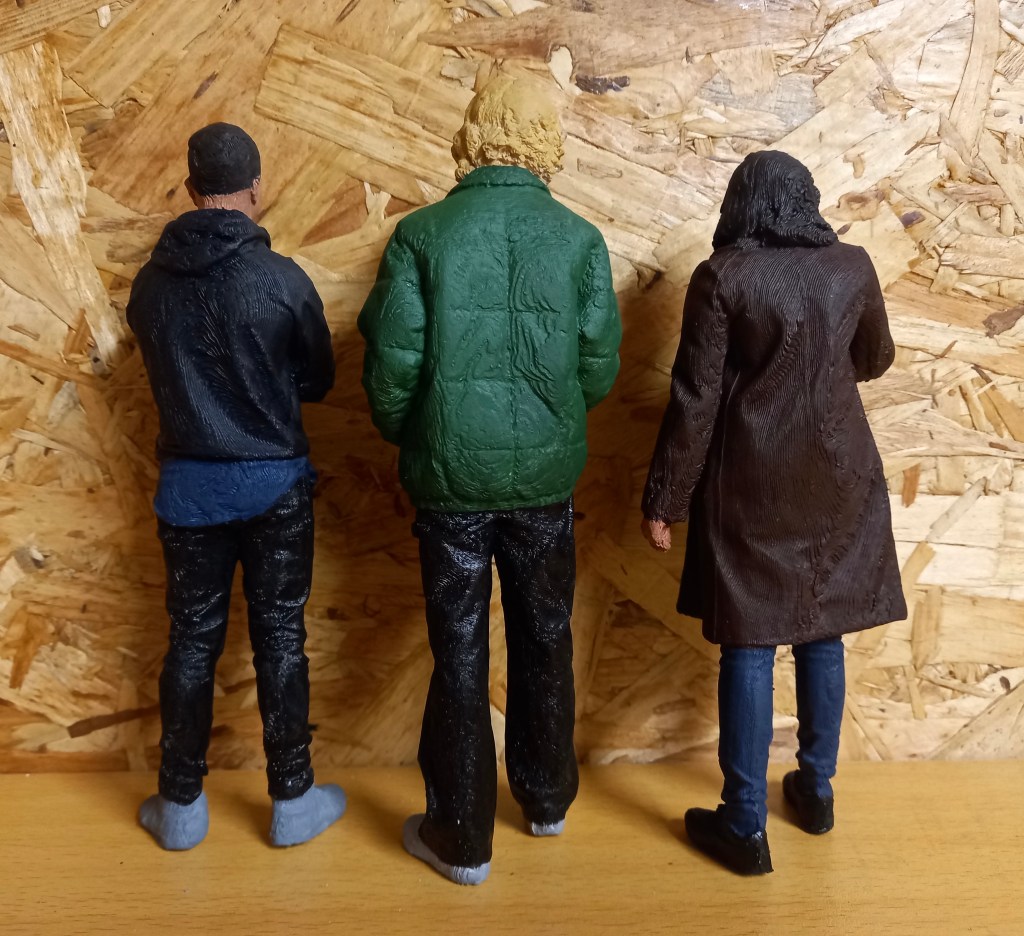
For painting I followed the same workflow and style that I did previously to achieve visual consistency across the figures. First I painted the clothing. 2 out of 3 of the figures are reprints so there is already a completed version made for the model. To get around this problem I made sure to change the colours of the outfits so that when they’re in the model you won’t realise. I wanted to make sure they all stood out without making all the colours obnoxiously bright. Furthermore, the brief wanted modern day looking people so I tried capturing that with the colour choices. I made sure to mix every colour myself and not use any paint straight from the tube. This make for more realistic and cohesive colour palettes. A tip that I was given was to desaturate the colours using grey to make the models appear larger. I made sure when making each colour to create an excess and not wash out the palettes. This way I would have spare to paint over any mistakes or bits I missed without spending the time mixing the exact colour again. This really helped save time especially as I got the the smaller details.
After the outfits I did the hair and skin. I did each hair with slight colour variations. Giving it a bit more of a realistic look with some lighter and darker bits. Mixing and painting the skin tones was the most difficult part of the process. I tried to get the skin tones as accurate the the reference images as I could. I mixed equal parts red, yellow and blue then from that base created each models individual skin tone. I started with the darkest skin tone and worked to the lightest. This way I could work off the previous tone to create the next one. I did all the skin tones before I started any of the facial features. At this point it became very tricky to get into all the little areas without getting paint of the hair of clothes. Once all the skin was dry I started the facial features. I decided for each I’d do the lips, eyebrows and for the eyes, the white bit with a black pupil and line at the top for definition. I had to exclusively use the thinnest brush I have for these.

When all the painting was done and dry I finished them with a clear sealer. I lined them all up outside making sure to protect them if they fell. I sprayed them evenly all over from around 30cm away to help secure the paint and give them a matte finish. I sprayed them with 3 coats of sealer and left them to dry.
