Categories
Digital Arts 1 Level 4

Digital Arts 1: Line, shapes and textures- Phtoshop

Photoshop week 3

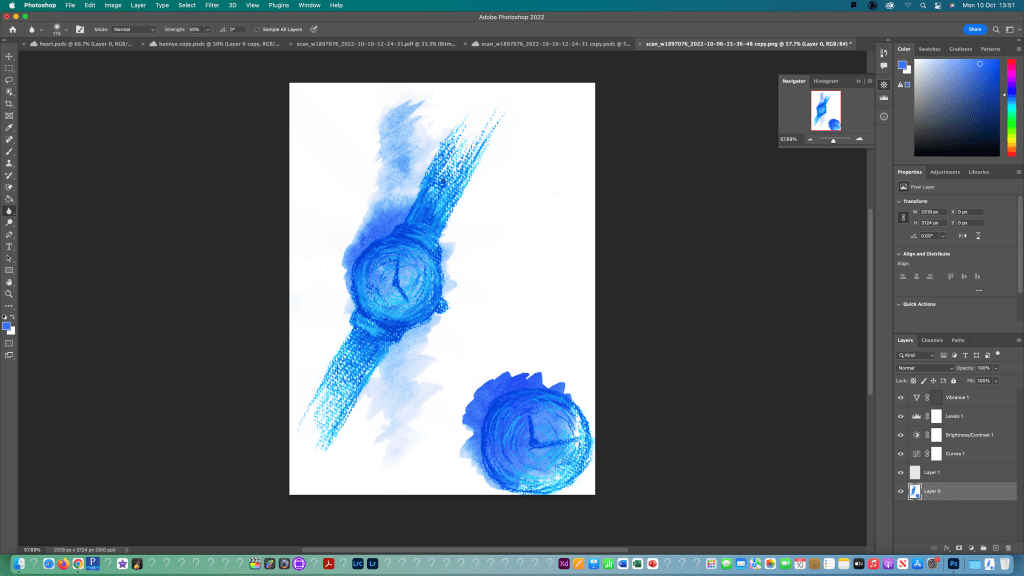
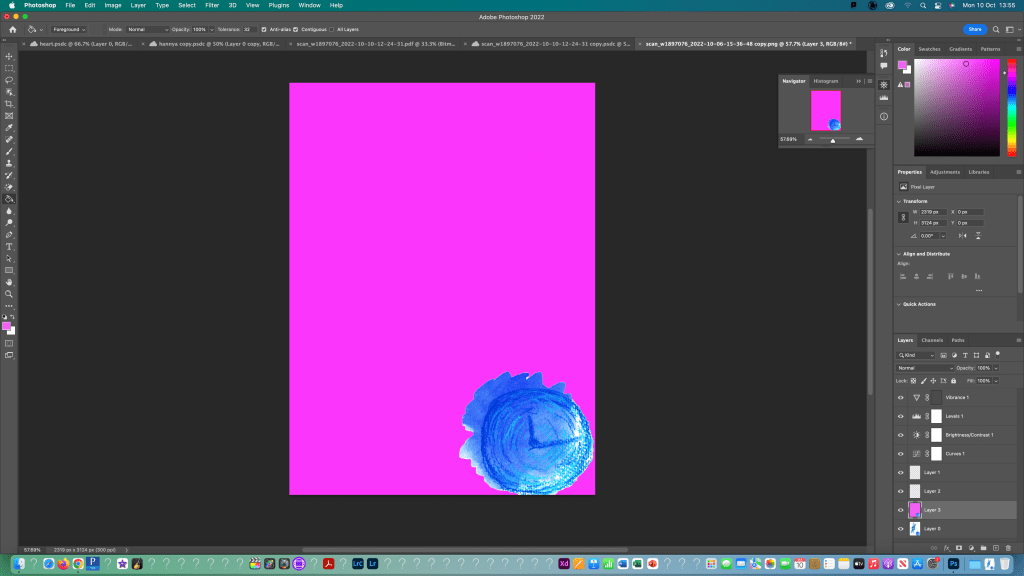
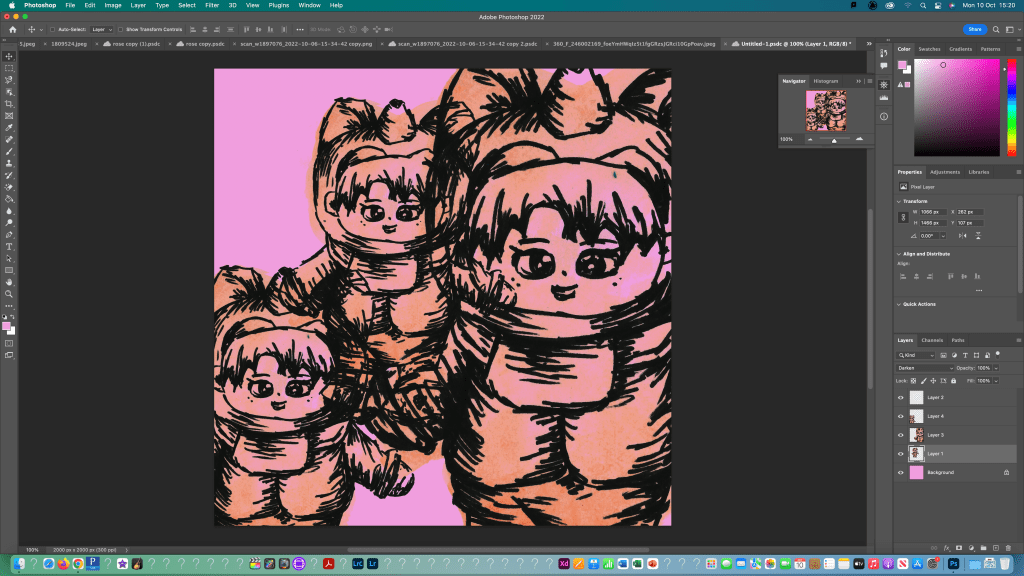
In this session I further developed my skills on photoshop, with a more directed focus on composition and colouring. Prior to the lesson I watched a couple tutorial videos which helped me understand the basics. during the session, I experimented with lots of tools and techniques on different images of my work.

I began by opening my image in photoshop and turning it to a normal layer. Then used the crop and rotate tools to make the image easier to work with. I used what I learnt last week to edit the image using the curves, brightness and levels adjustment tools. Also, I cleaned it up using the spot healing tool.
I first thing i tested was adding an image onto a solid colour background. I added a new layer and used this to put the part of my image that i selected using the object selection tool. I copied it to the new layer and used the paint bucket tool to fill the background a solid pink colour.
Using the same process, I selected the other watch face and copied that to a new layer. I made sure to save my selections as I went so I could go back to them if I needed to. I did this by going to to the selection bar at the top and choosing save selection and gave it a name that I would remember related to each part.
I then moved onto experimenting with textured backgrounds. I downloaded a metallic texture background and opened it on a new canvas in photoshop. Then I duplicated the layer into the watch file. Using free transform I adjusted the size and orientation of the object and background.
I then moved onto experimenting with colour using the brush and bucket fill tools to get different effects. Also I adjusted the hue, saturation and opacity to change the way it colours reacted.
Here’s another test I did where I changed the colour of the background and adjusted to image properties.

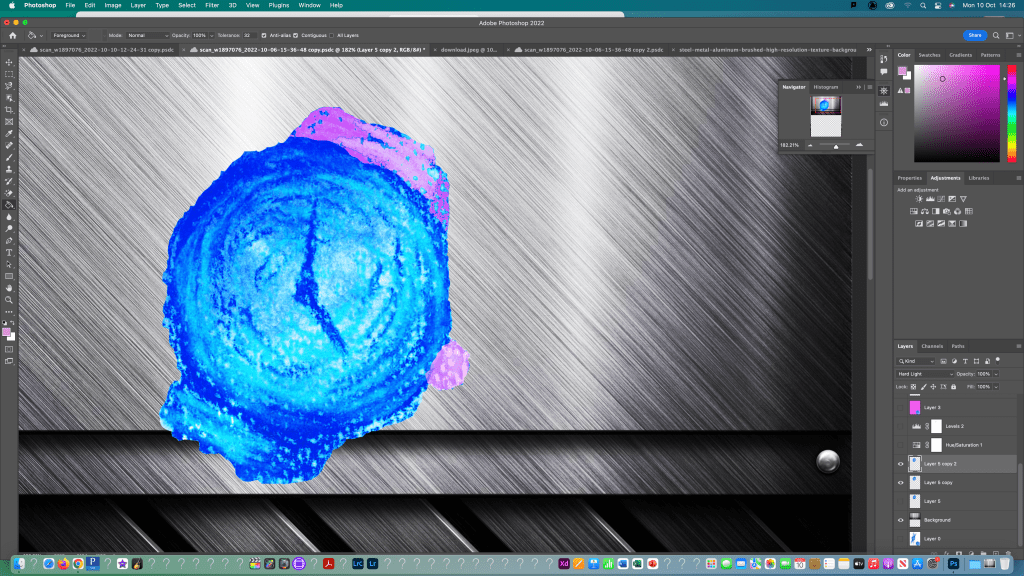
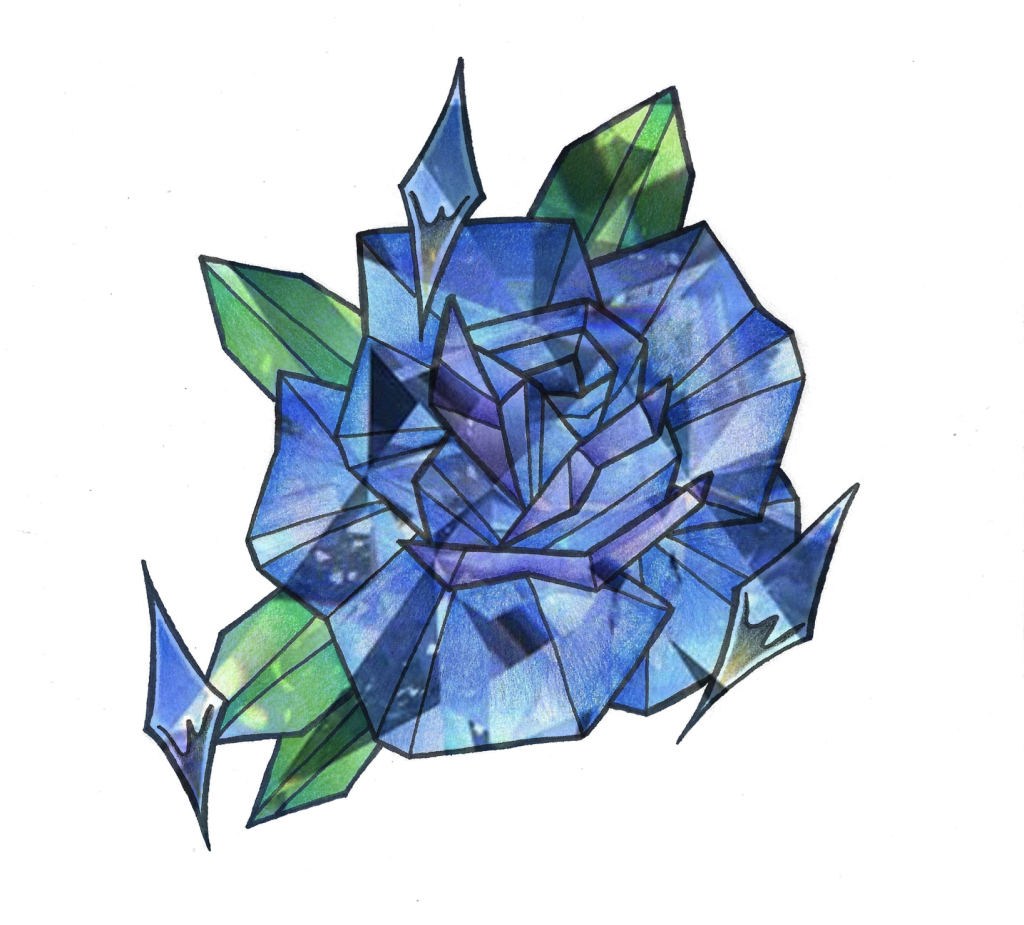
For this piece I selected the image using the object select tool and inverted it so I could fill just the background using the paint bucket tool. Then using the lasso selection tool I selected different parts of the eyes and filled them in with 2 different shades of red.

For this I used the magnetic lasso tool to draw around the top parts of the chrome sparkles to create a boundary which I then filled in with different opacities of pink using the brush tool.
I made a new layer and coloured it pink then adjusted the colour settings to change how the layers are seen together to get a pink glow behind the rose.
I used the same process as before to add a textured background then changed the colour settings to get the background to shine through the rose.
I created a mask for the rose so the texture would only show through the rose and not in the background. Then I adjusted to properties to create the desired effect.
This was another experiment with changing the line colour of an image.
For this I first created a separate layer with a coloured background and then copy and pasted the same image multiple times to make a pattern of objects. Each one is on a different layer so I made sure to make all layers visible.

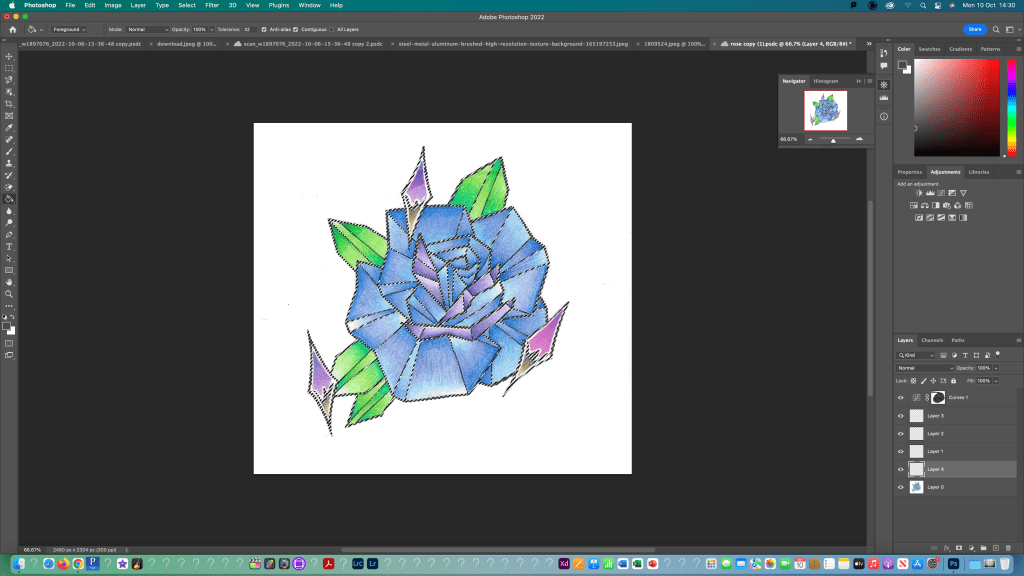
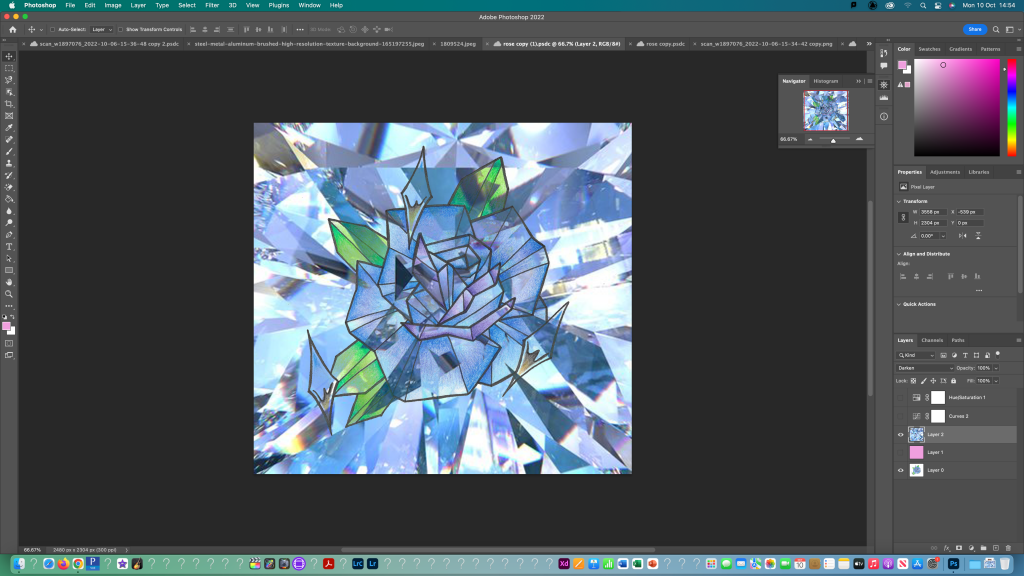
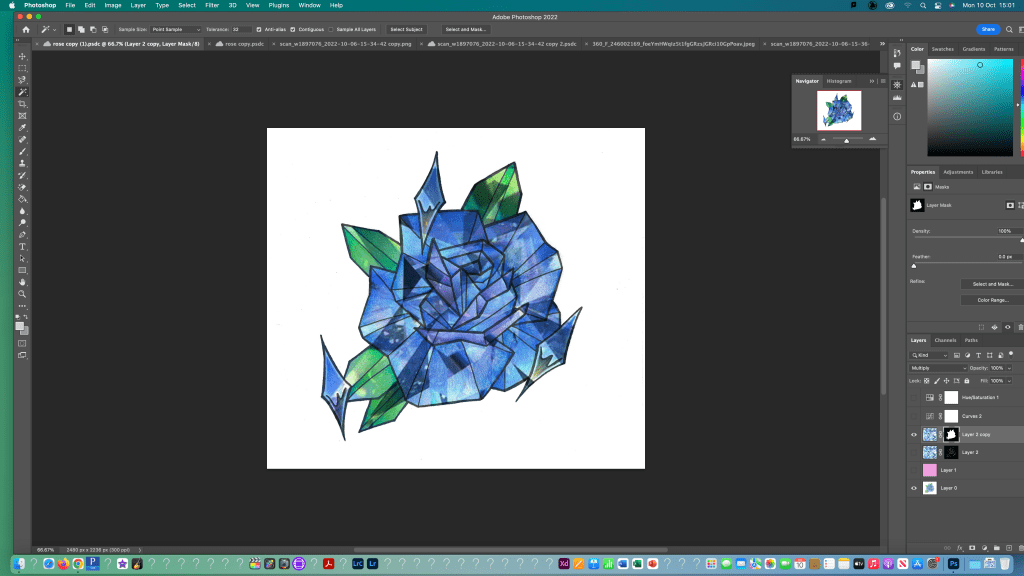
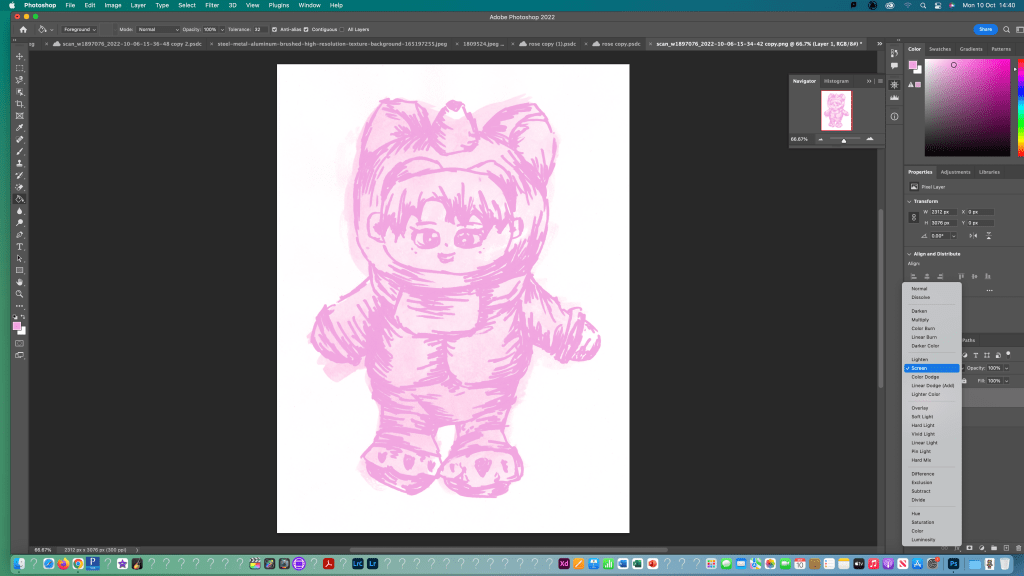
This weeks learning built on the basics that we did in the first session. We started to learn about layers, layer mask and the other frequently used tools such as the different selection options. I found some of the more difficult especially neatly selecting an object or part of an object but I began to get more confident with it. The tools we learnt will come in helpful when I want to edit a drawing to add new elements or experiment with colour or composition options.

Leave a comment